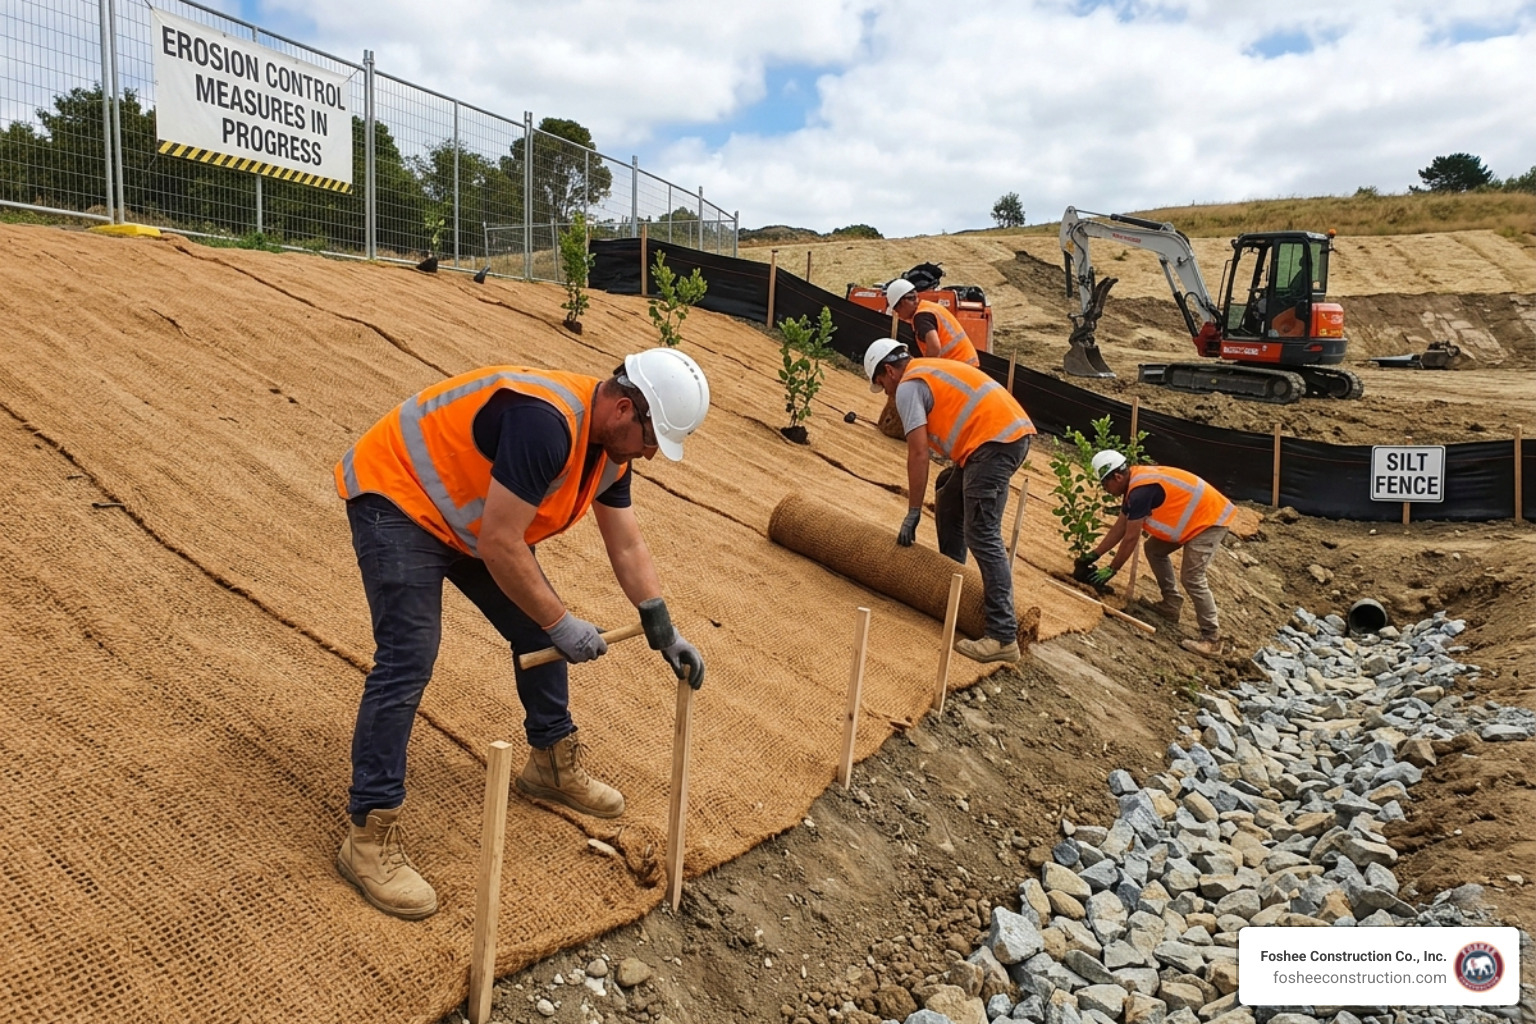

Erosion control matting installation is the process of securing rolled fiber or synthetic blankets to bare soil surfaces to prevent soil loss, support seed germination, and protect drainage infrastructure during and after construction.
Quick answer — here's what professional erosion control matting installation involves:
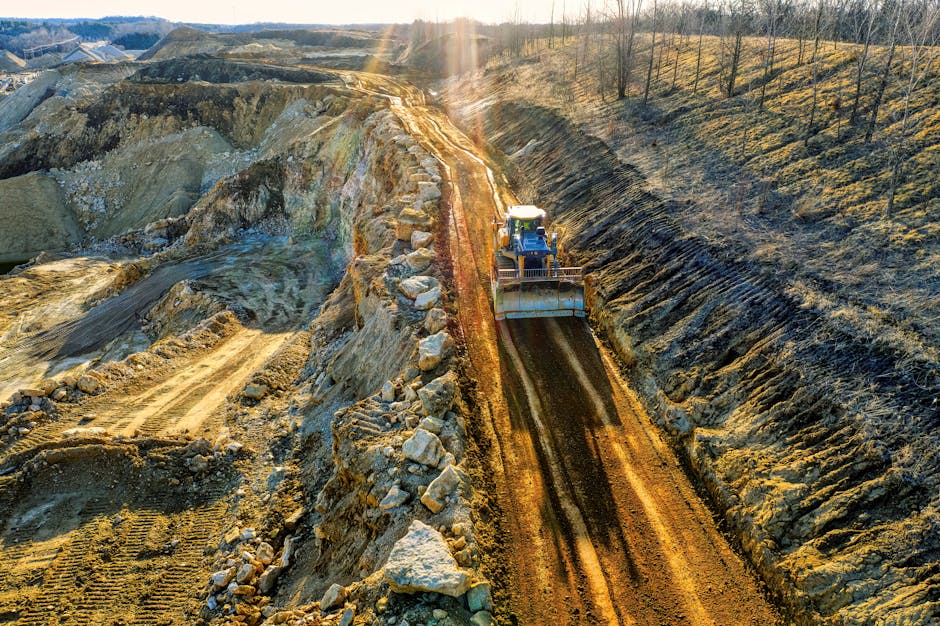
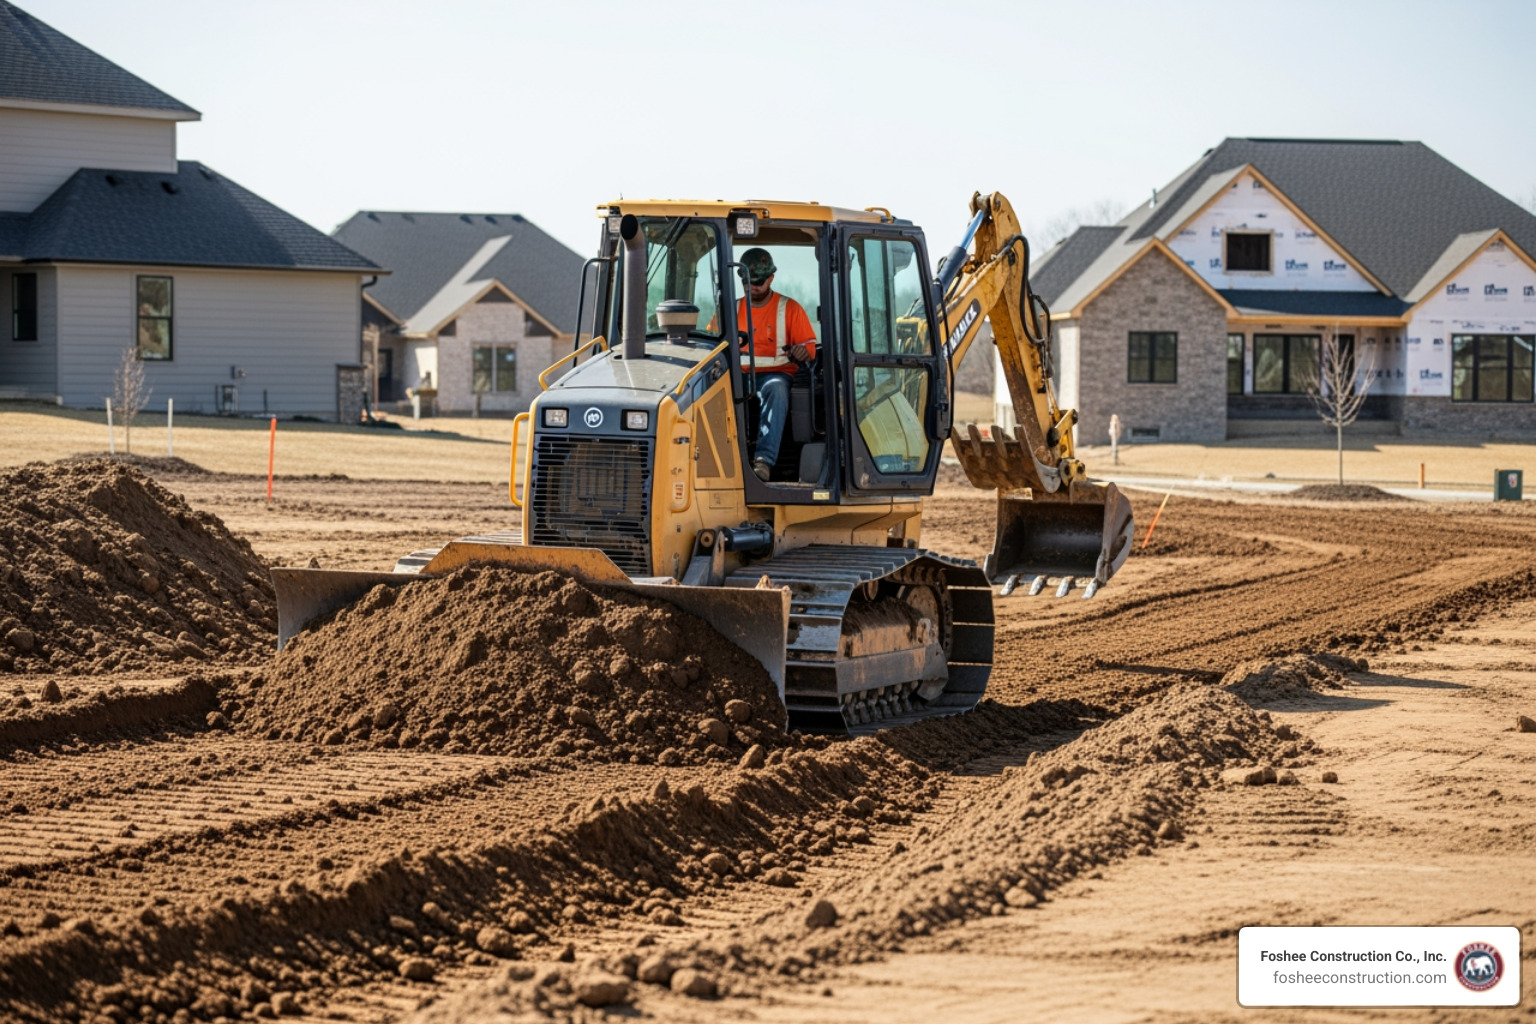
For Florida general contractors and developers, erosion is not a minor inconvenience. It is a project risk. Bare soil on a Lake County utility corridor or drainage basin can wash away fast — taking seed, topsoil, and schedule with it.
The good news? When erosion control matting is installed correctly, it works. Studies show that a properly vegetated turf reinforcement mat (TRM) can handle shear stress between 10 and 14 pounds per square foot — comparable to rock riprap, but at roughly one-third the cost.
The bad news is that most failures come down to one thing: improper installation. Poor soil contact, skipped anchor trenches, wrong fastener density — these are the details that separate a mat that holds through a Florida rainstorm from one that peels off and creates a rework nightmare.
This guide walks through everything — material selection, site prep, step-by-step installation for slopes and channels, anchoring best practices, and post-installation maintenance — so your project stays protected from day one.

When we talk about erosion control matting installation, we are referring to a category of products known as Rolled Erosion Control Products (RECPs). These aren't just "blankets" thrown over the dirt; they are engineered systems designed to provide an effective solution for controlling erosion by mimicking the protective qualities of natural vegetation before that vegetation has a chance to grow.
The primary purposes of these mats are sediment retention and moisture control. By shielding the soil from the "splash erosion" of heavy Florida rain and the "scour" of flowing water in drainage swales, the matting keeps your grade intact. Simultaneously, it holds moisture in the soil, creating a greenhouse-like environment that speeds up seed germination.
Selecting the right material is the first step in a successful installation. We generally categorize these into three types:
One of the most compelling reasons we use these products in Lake County utility projects is cost-effectiveness. Installation of a turf reinforcement mat can be one-third the cost of eight-inch rock riprap for the same level of erosion control. Furthermore, RECPs meet, and under certain conditions, can even exceed the shear stress rating of rock riprap once the grass has grown through the matrix.
In Minneola and across Lake County, our sandy soils present unique challenges. Sand doesn't have the cohesive strength of clay, meaning water can easily "undercut" a mat if it isn't anchored properly.
When selecting a mat, we look at the slope gradient and the expected runoff velocity. For moderate slopes, BioD-Straw or JuteMat are popular biodegradable options. Straw provides excellent moisture retention for our hot Florida afternoons, while Jute is heavy enough to conform well to minor soil irregularities.
For high-flow drainage areas or very steep embankments (steeper than 3:1), we move to synthetic matrices like TRMs. These permanent mats are 100% UV stabilized, ensuring they won't degrade before the "stability period"—the 6 to 12 months it takes for Florida grasses to fully mature. According to ASTM D6460 standards, an unvegetated TRM might only handle 2.0 to 3.5 pounds per square foot (psf) of shear stress, but once that grass is established, that rating jumps to a massive 10 to 14 psf.
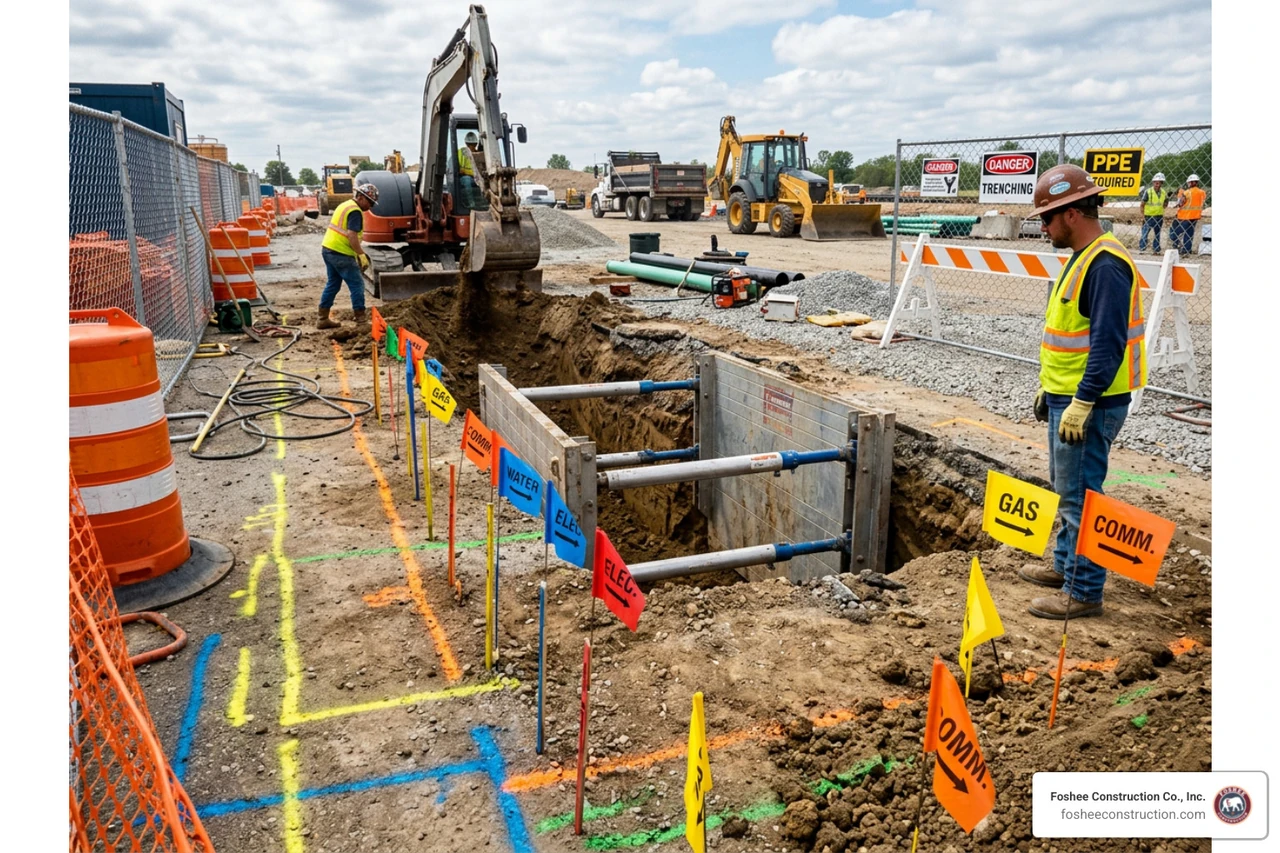
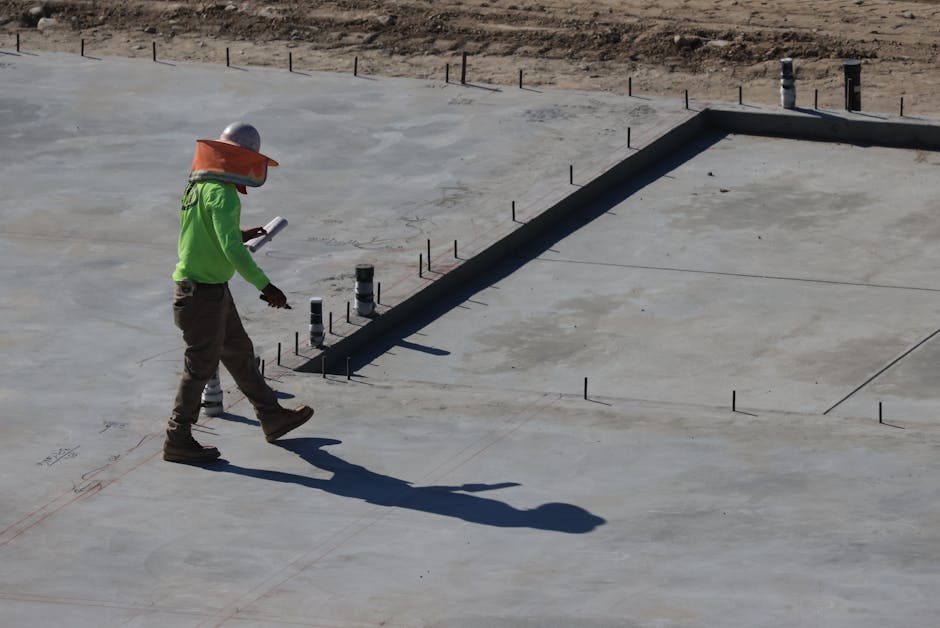
You cannot install a high-performance mat on a low-quality surface. Site preparation is where many DIY or cut-rate installs fail. The goal is "continuous soil contact." If there is a gap between the mat and the dirt, water will find it, run under it, and wash out the soil—a process called "tenting."

The mechanics of How to Properly Install Turf Reinforcement Mats (TRMs) differ depending on whether you are working on a hillside or in a drainage channel. However, the golden rule remains the same: Soil contact is everything.
On slopes, we always start at the top and unroll downward. This allows gravity to help keep the mat taut.
In drainage swales or channels, we install the mats in the direction of the water flow. We ensure the matting covers the entire "wetted perimeter"—the area that will be underwater during a design storm. To prevent the water from getting under the leading edge, we use check slots (mini-trenches) every 25 feet in high-flow areas to "reset" the seal against the soil.
The anchor trench is the "lock" that holds the entire system in place. Without it, a heavy rain will simply peel the mat off the hill like a rug.
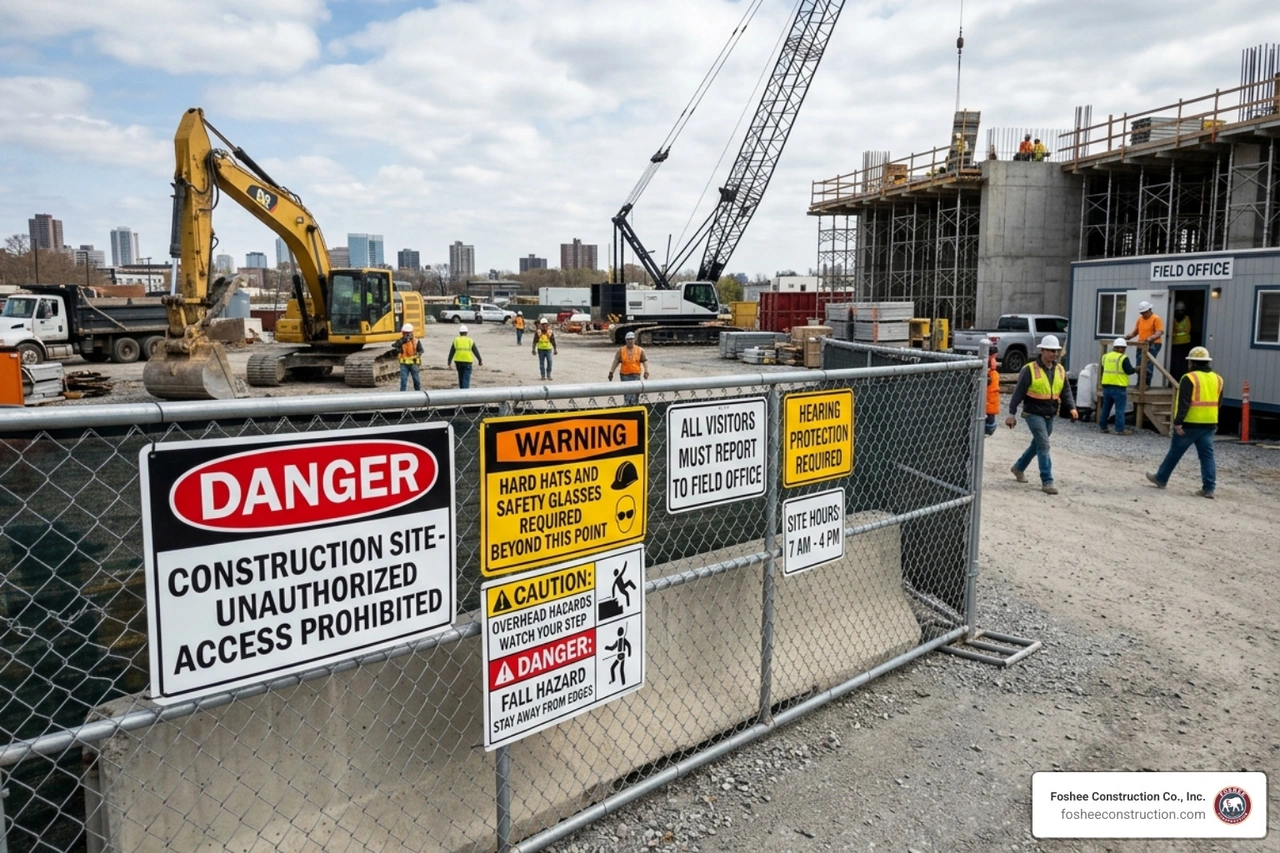
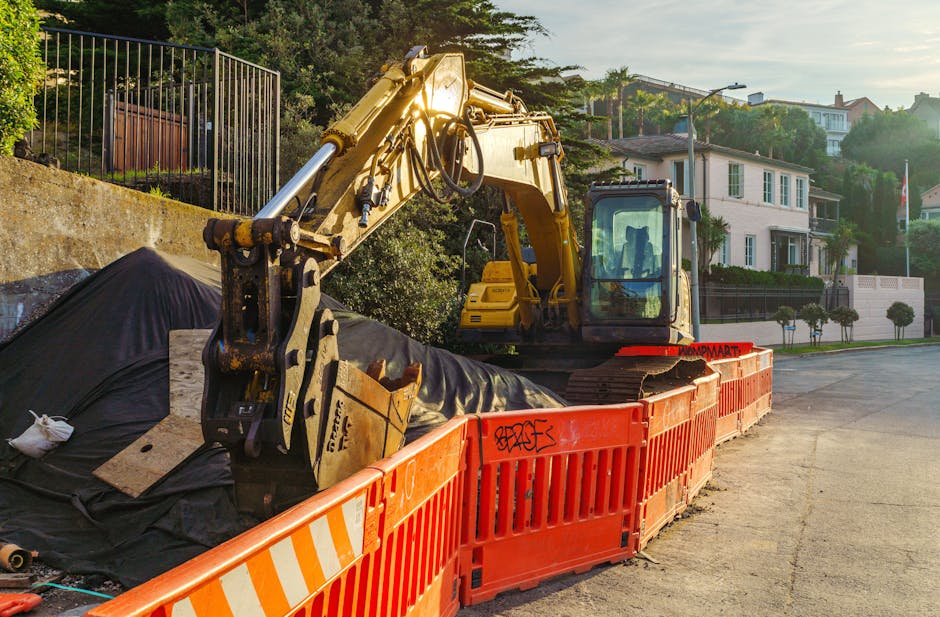
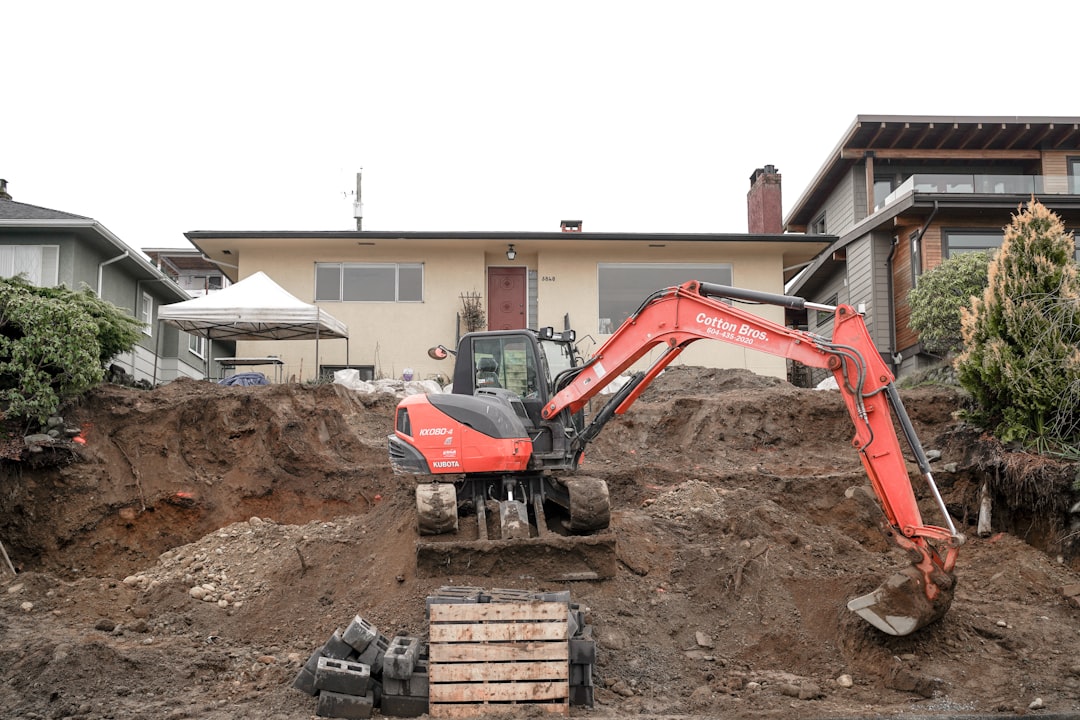
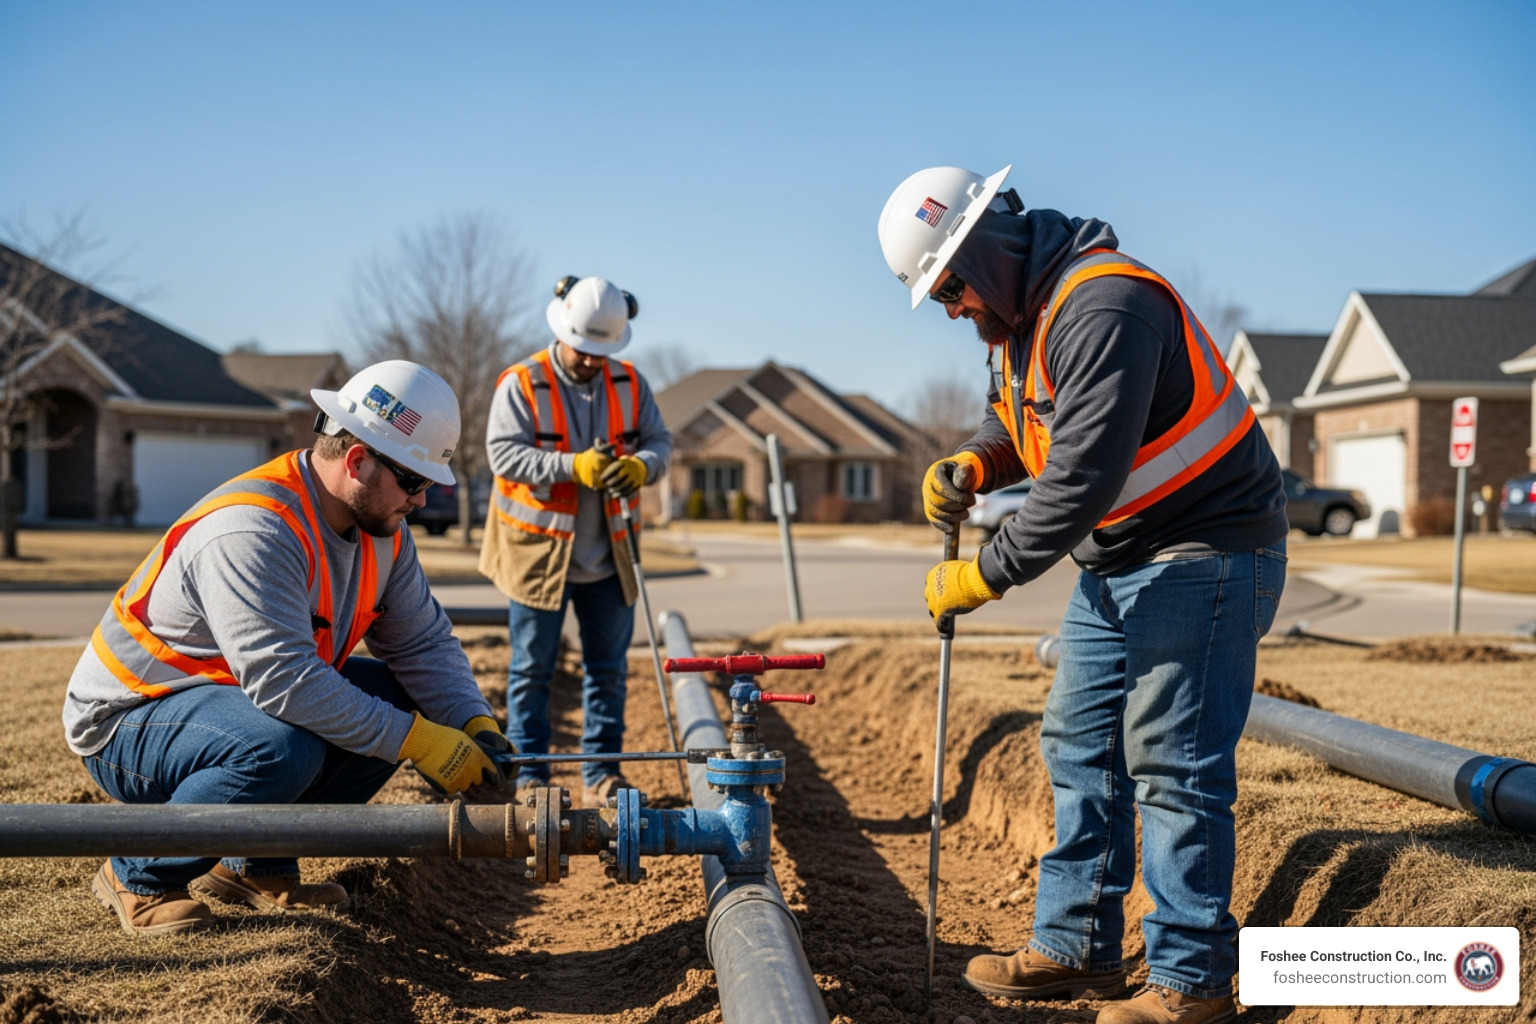
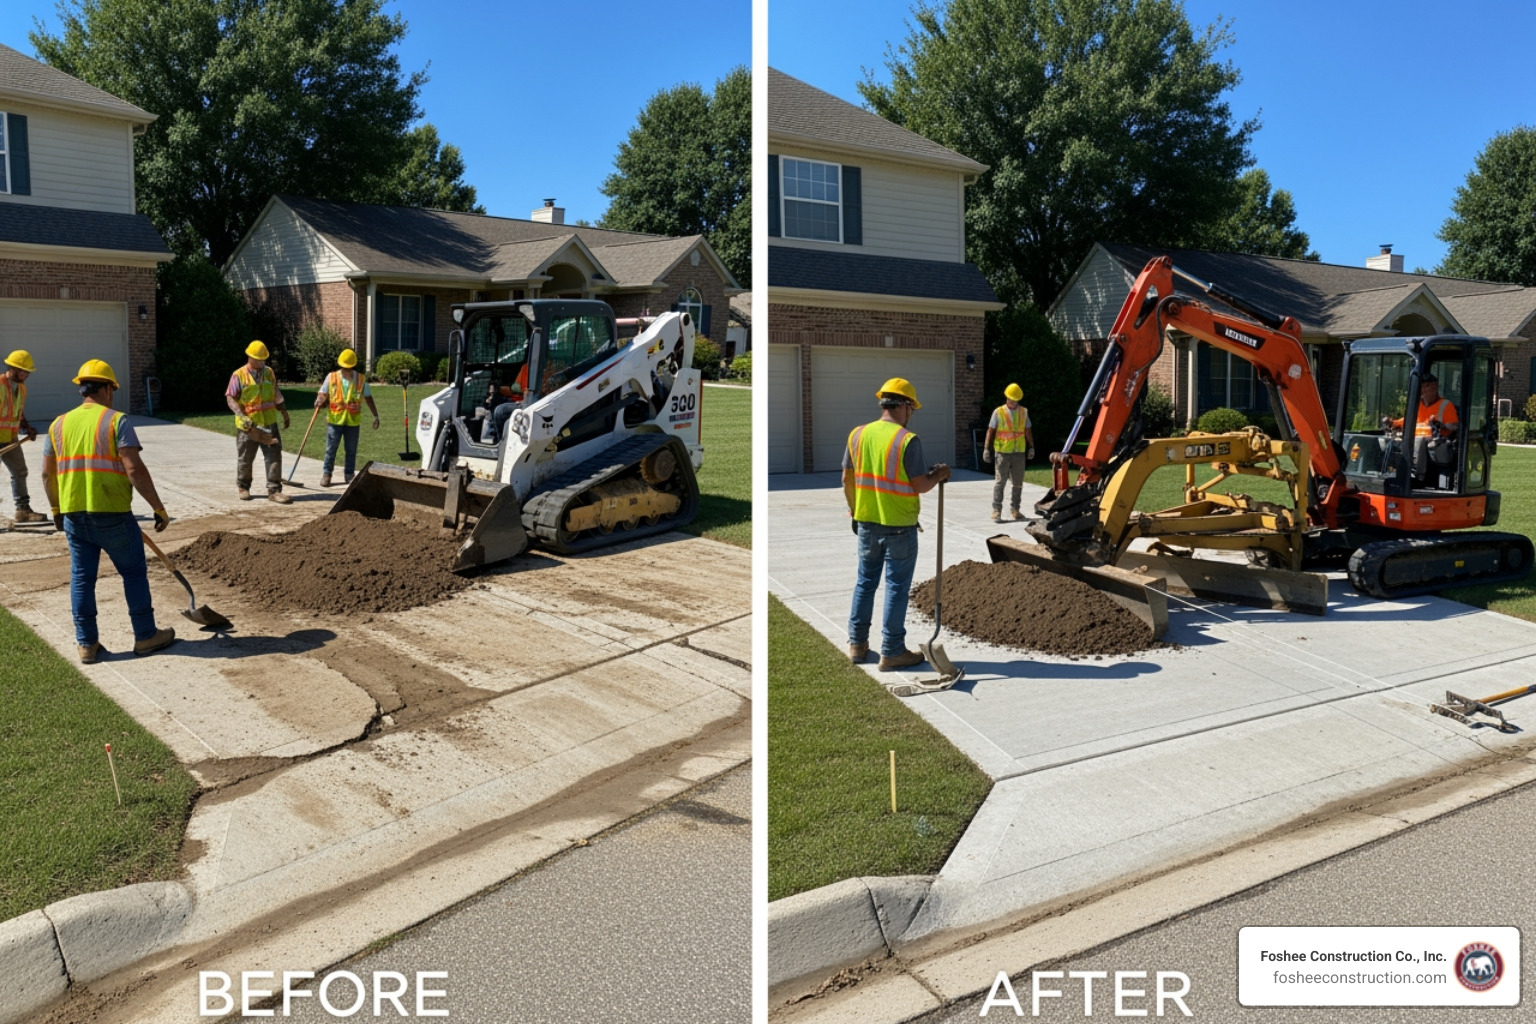
On large Lake County utility corridors, manual unrolling isn't just slow—it's inefficient. We utilize industrial equipment to ensure a consistent, disciplined execution.
If the anchor trench is the lock, the staples are the nails. We don't just "tack" the mat down; we secure it using a specific density and pattern.
Fastener Density Standards:
When using multiple rolls, we use the "shingling" technique. Just like a roof, the upstream (or upslope) mat must always overlap the downstream mat. This ensures that water flowing over the surface moves from one mat to the next without catching an edge and "diving" underneath.
In Lake County's sandy or saturated soils, standard 6-inch staples often aren't enough. We use:
Even with the best materials, simple mistakes can lead to total failure. We watch for:
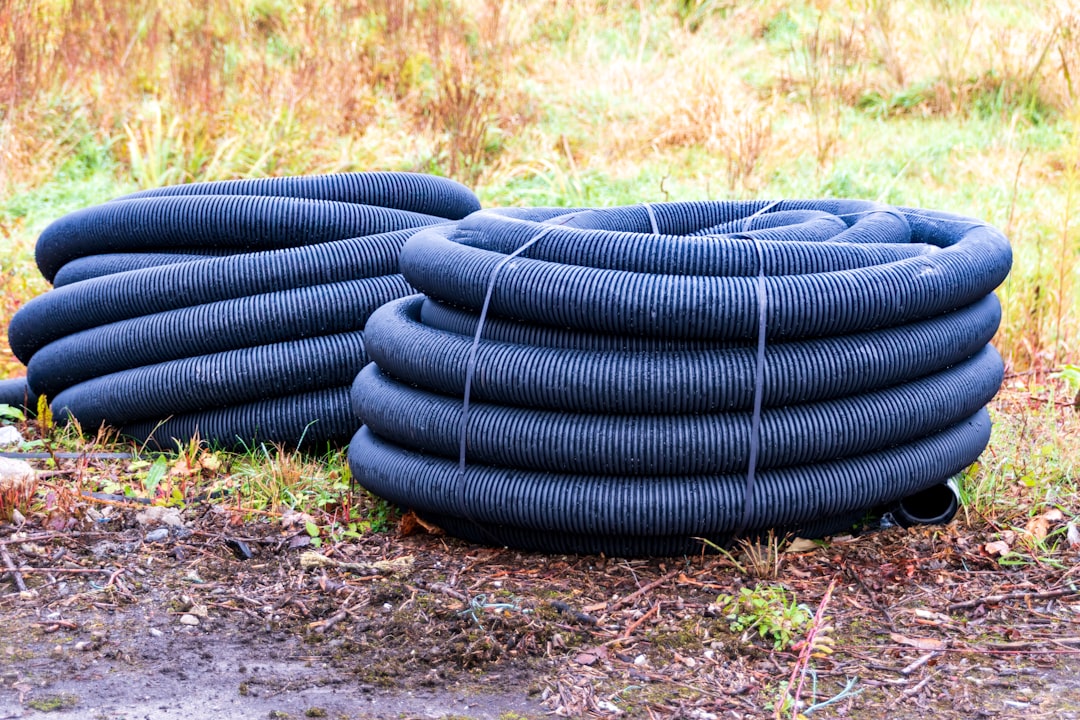
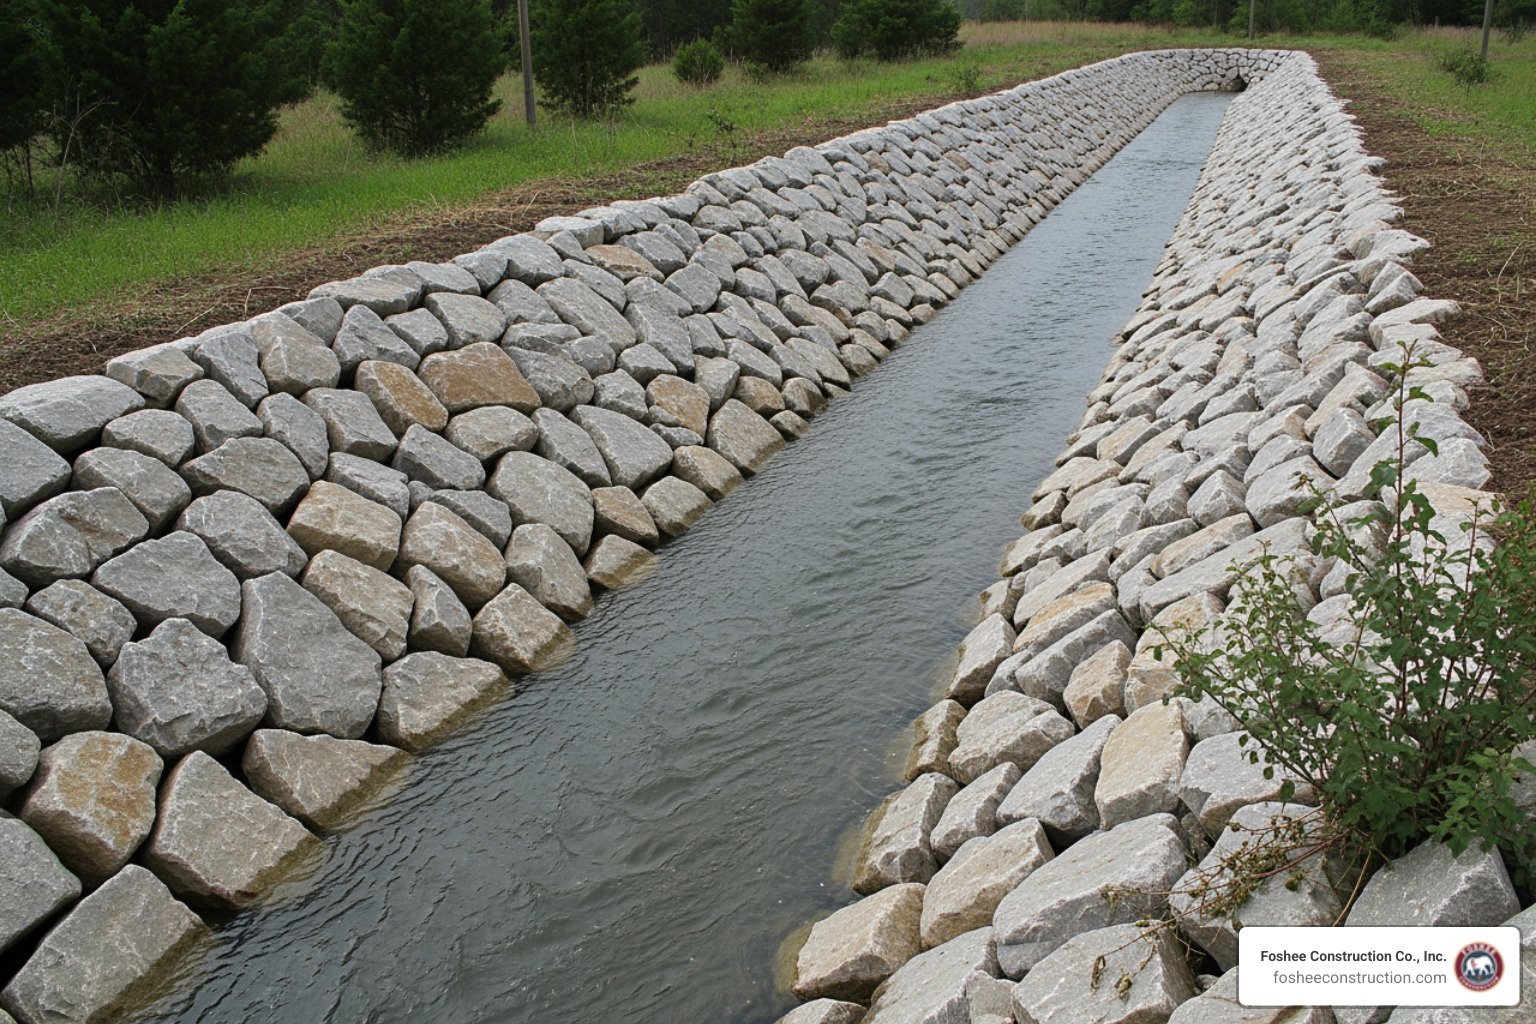
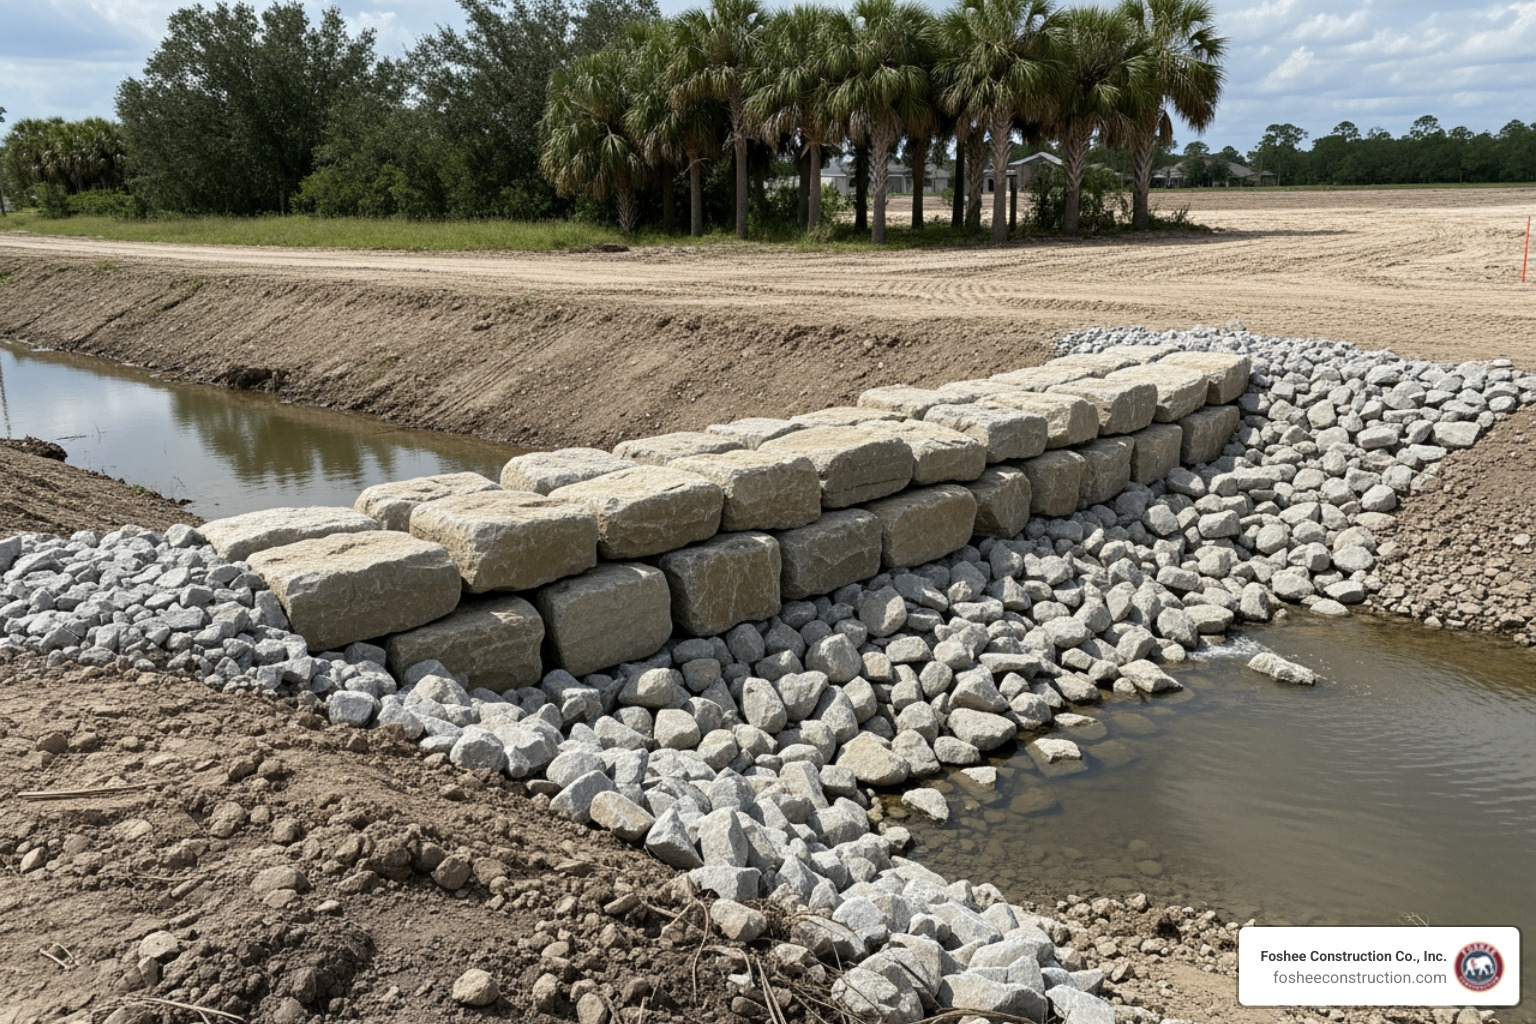
Shorelines in Lake County require a different approach due to wave action. Here, we may use Geotec tubes or heavy-duty TRMs combined with 18-inch anchors to deal with saturated, loose soils. For high-velocity drainageways with intermittent flow, we often look to products listed on the WisDOT PAL (Product Acceptability List), which provides rigorous shear stress testing data. These high-flow areas often require "terminal end" trenching, where the mat is tucked into a 12-inch deep trench at the very end of the run to prevent the water from lifting the tail of the mat.
Installation isn't "set it and forget it." A professional installation includes a rigorous maintenance protocol.
Most biodegradable mats (straw, coconut, or jute) have a functional longevity of 6 to 24 months. The goal is for the mat to last just long enough for the vegetation to reach maturity. In the humid Florida climate, degradation happens slightly faster than in arid regions, which is why we often prefer coconut-fiber blends for projects requiring more than a year of protection.
Yes, specifically Turf Reinforcement Mats (TRMs). As mentioned, a vegetated TRM can handle shear stress up to 14 psf. They are one-third the cost of rock, easier to install on steep 1:1 slopes, and offer aesthetic benefits by allowing for a natural green space rather than a field of grey rocks.
The #1 cause is poor soil contact. Whether caused by "tenting" over rocks, improper trenching, or insufficient anchoring, any gap between the mat and the soil allows water to undercut the system. Once undercutting starts, the mat is essentially useless.
At Foshee Construction Co., Inc., we know that a successful utility or drainage project in Lake County starts from the ground up. Whether we are preparing a site in Minneola or managing a complex drainage basin, we bring a disciplined approach to erosion control matting installation.
By focusing on transparent bids, safety, and the technical details—like proper anchor trenching and fastener density—we ensure that your "solid foundation" doesn't wash away with the next Florida storm. Our reliable relationships with top contractors and our focus on site-specific solutions make us the go-to partner for Lake County site preparation.
We build bids using HeavyBid and AGTEK because the details matter long before the job starts. When the numbers are accurate and the scope is clearly defined, it sets the tone for how the entire project runs. Estimating isn’t just a step in the process, it’s the foundation we build on.
That same mindset carries into the field. Our crew is trained to work with purpose, follow the Civil Engineers’ Plan to the finest detail, and hold the line on quality. When expectations are clear from day one, there’s no need for shortcuts, and no confusion about how the work gets done.
Clients trust our bid packages because they’re complete and ready to use. Project managers know what we’re covering, what’s excluded, and how we plan to approach the job. That clarity removes friction and lets teams focus on execution instead of interpretation.
As part of our review process, we go into the plans before anything hits the site. We ask the questions early, resolve issues before they show up in the field, and keep RFIs moving. This approach prevents delays and protects the timeline.
Over time, that consistency builds trust. Many of the people we work with today came through referrals from past projects – engineers, GCs, and superintendents who’ve seen how we operate and want the same experience again.
In 2024, Foshee Construction was acquired by Saga Infrastructure Solutions, a national network of civil construction companies. Saga supports regional contractors by giving them access to better tools, long-term resources, and operational backing, without changing how they run day to day.
Foshee will continue to operate under its name, with the same team and field leadership in place.
“From the very time a project starts, we start that partnership. We try to catch as much as we can with the tools that we have. Not everybody is using the software platforms we are. That’s the differentiator: we’re not just bidding. We’re anticipating, problem-solving, and making sure the job runs right.”
— Don, CEO, Saga Infrastructure Solutions
Foshee is now part of a broader regional strategy that includes Florida, the Piedmont Atlantic, Texas, Colorado, and the Arizona Sun Corridor. The name, crews, and standards remain. What’s improving is the support behind it.