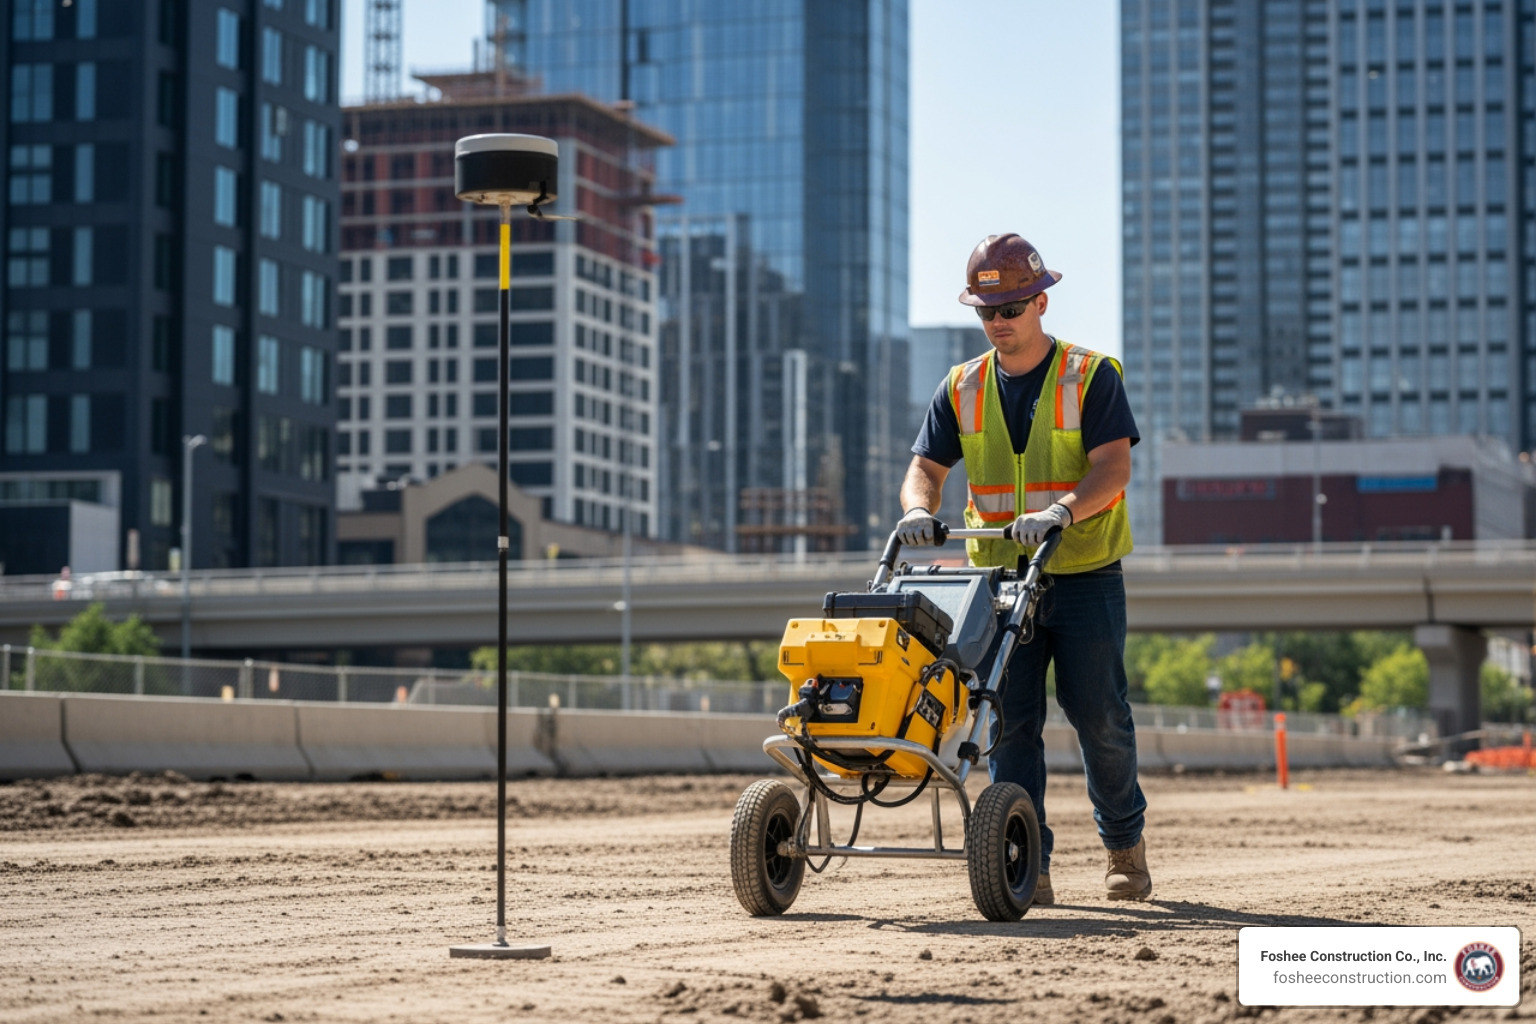
Choosing the right blanket is the first step toward a successful installation. In our work across Minneola and Lake County, we’ve found that matching the material to the specific site conditions is critical. Not all blankets are created equal; they are categorized primarily by their functional longevity—how long they last before they naturally decompose.
As of April 2026, the industry standardizes these products into four main categories:
The material composition also varies. Straw blankets are common for general slope work, while coconut fiber (coir) is tougher and better suited for areas with higher water velocity. Wood excelsior blankets use curled wood fibers that interlock, providing excellent soil contact. For a truly eco-friendly approach, many Florida projects now utilize biodegradable materials like jute netting or organic twine to avoid long-term plastic waste.
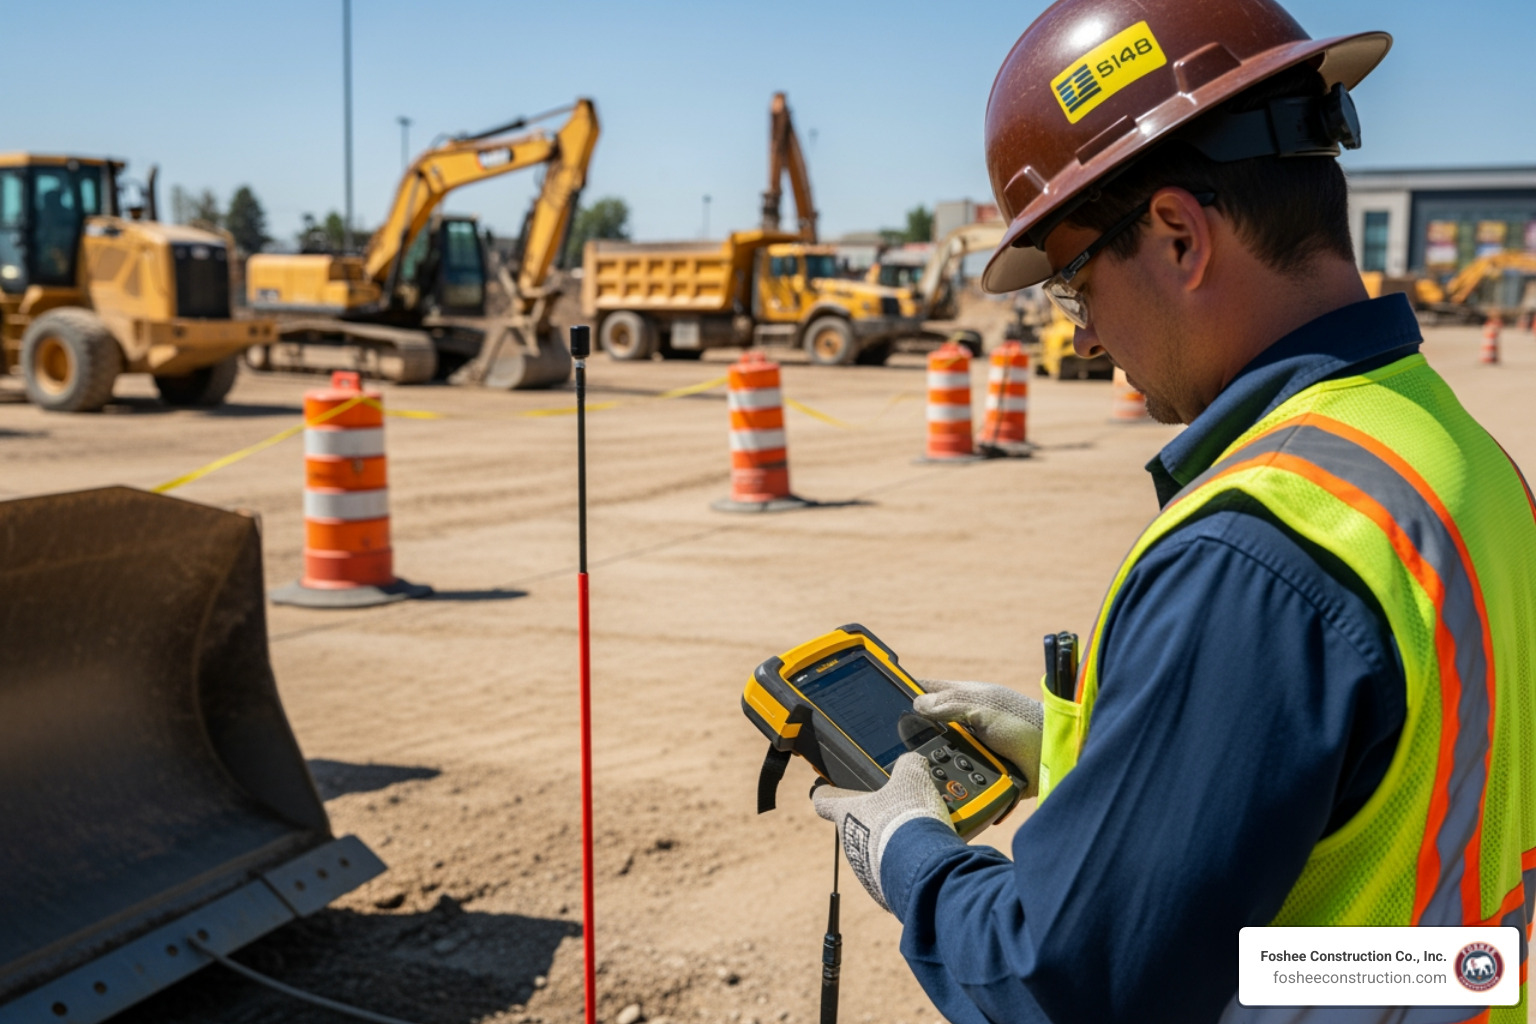
When selecting a blanket, we look at the slope gradient. ECBs are generally effective for slopes up to a 1.5H:1V ratio, though some high-performance mats can handle 1H:1V. We also consider the C-factor (cover-management factor), which measures the product's ability to reduce soil loss compared to bare soil. For more technical data on performance standards, the Erosion prevention practices - Minnesota Stormwater Manual provides a deep dive into shear stress and tensile strength requirements that we use as a benchmark for professional-grade results.
One final tip for Florida developers: always check for wildlife-friendly netting. In our local ecosystems, using a natural "leno weave" netting rather than heat-bonded plastic prevents small animals from becoming entangled, ensuring your project remains environmentally responsible.
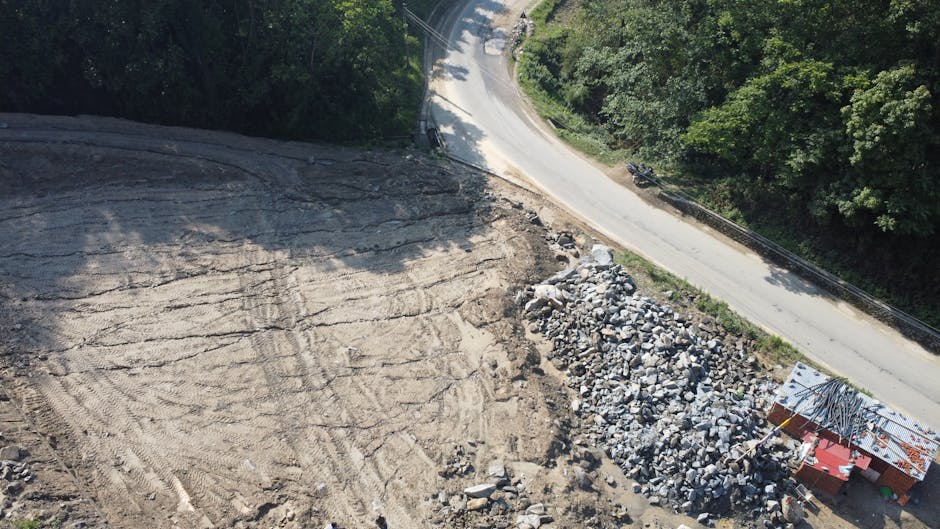
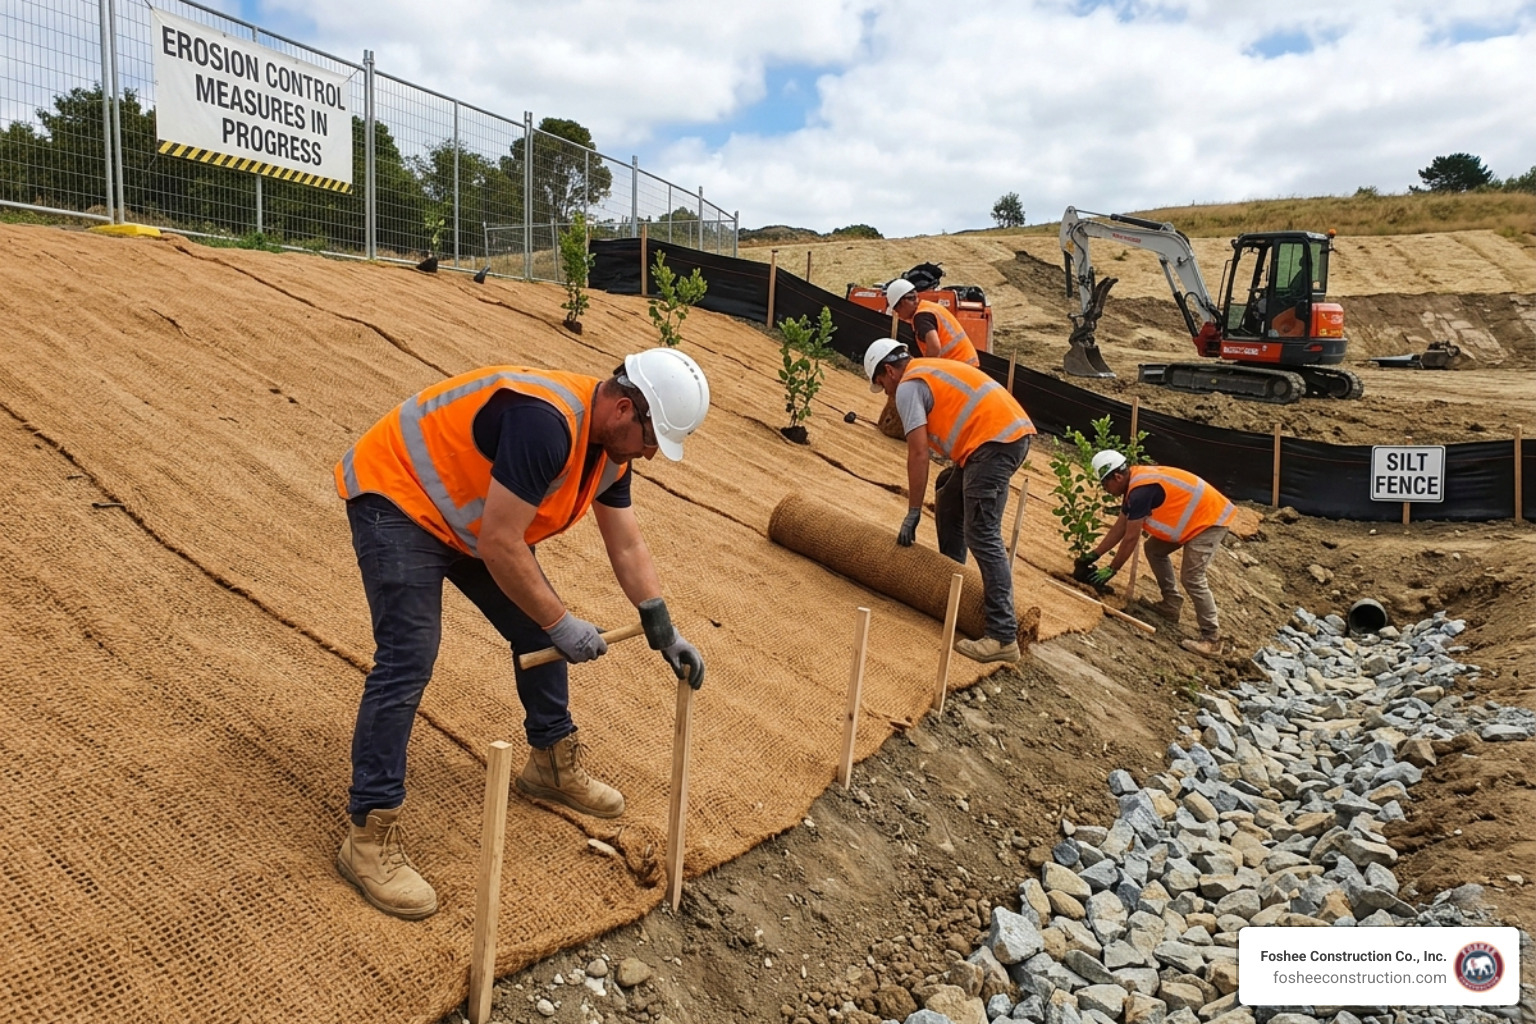
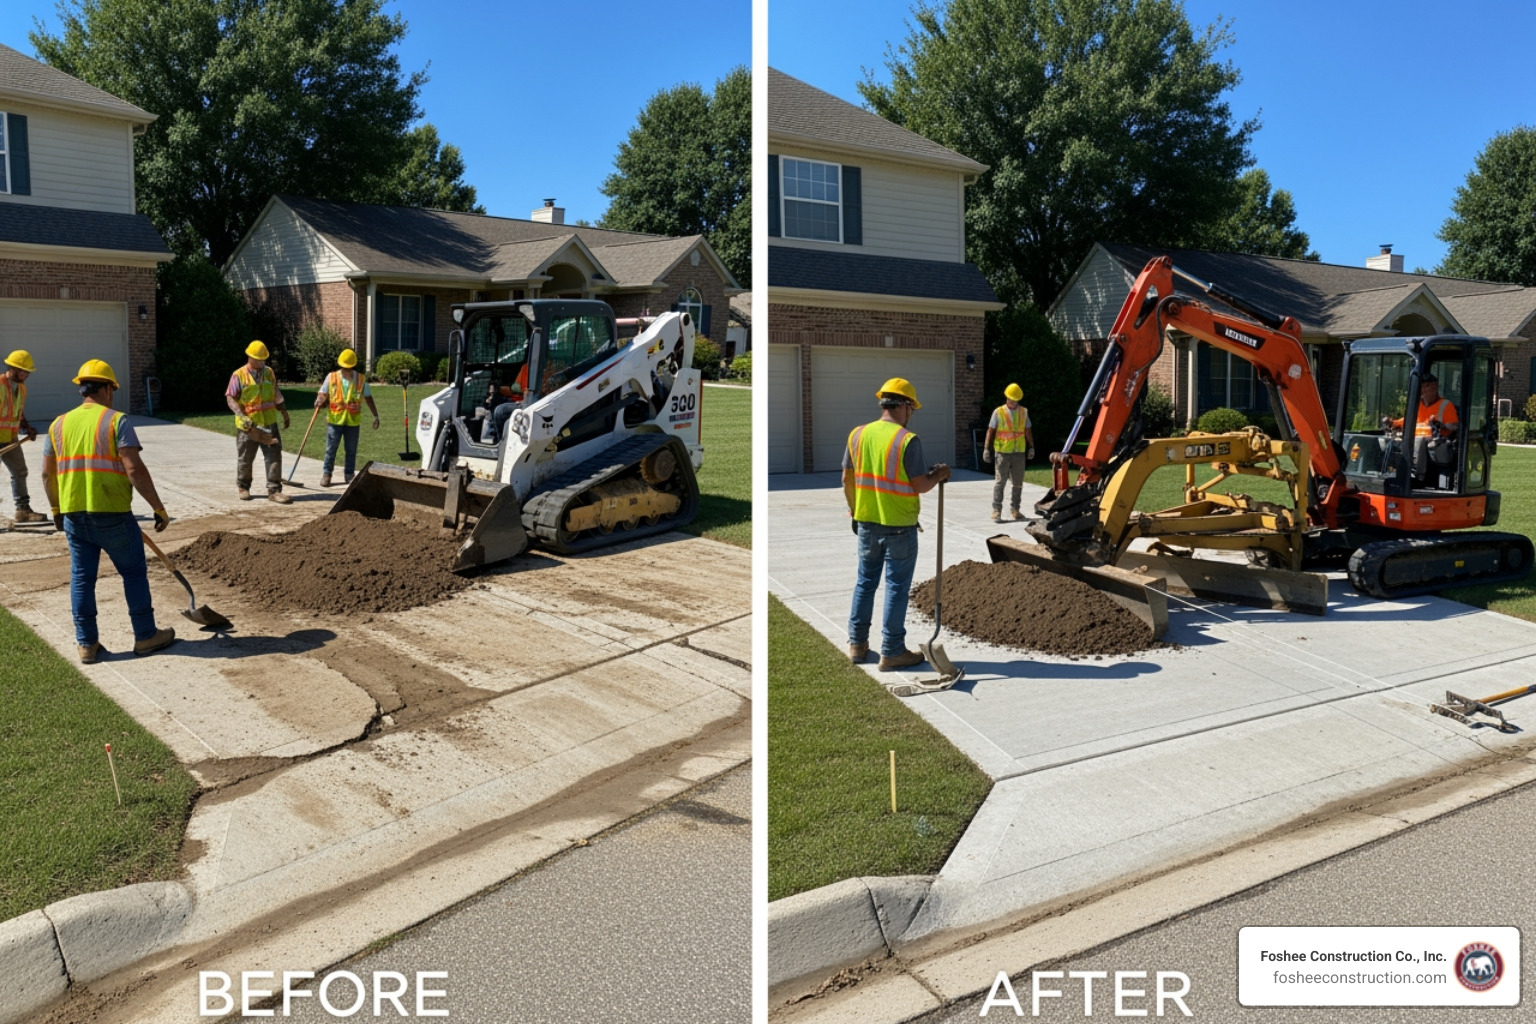
You wouldn't put a high-quality rug over a floor covered in gravel and expect it to look good—the same logic applies to erosion control blanket installation. Site preparation is where the real work happens.
Before the first roll is even moved, the area must be cleared of all large debris, rocks, sticks, and roots. Specifically, you must remove any soil clods or rocks 1.5 inches or larger. If the blanket "tents" over a rock, water will flow underneath it, causing hidden erosion that can undermine the entire slope.
We follow these preparation steps religiously:
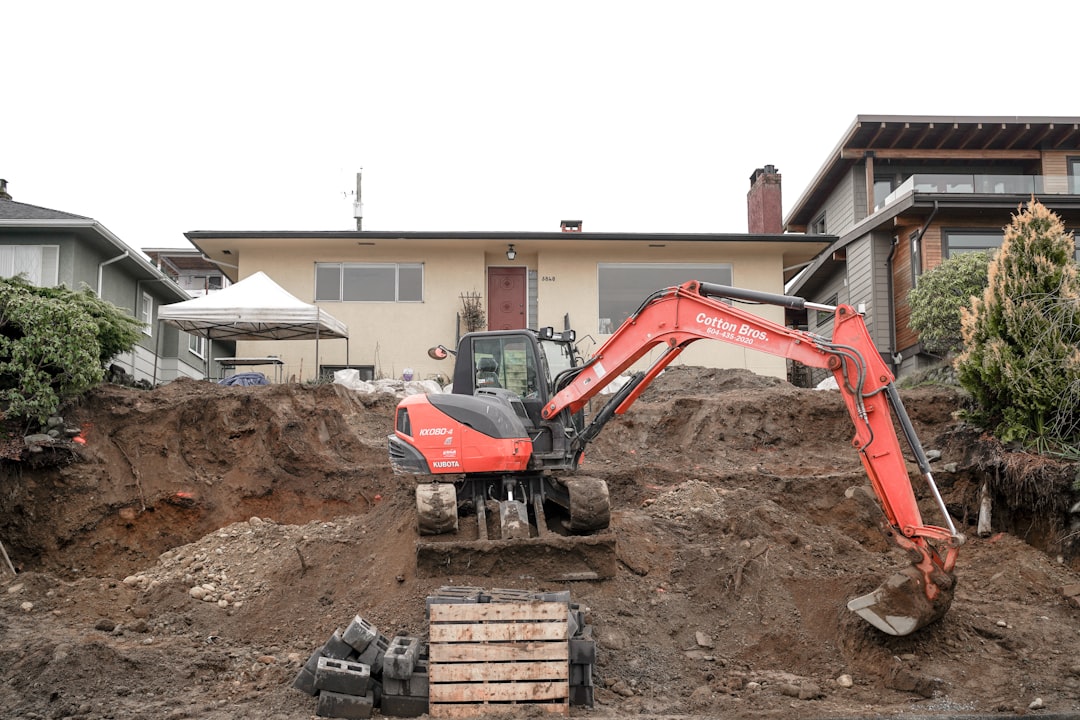
Having the right tools on hand makes the process significantly more efficient. For small sites, a manual trenching shovel and a utility knife are sufficient. For the large-scale site prep we do at Foshee Construction, we often use ATV unrollers or utility vehicles to ensure the blankets are laid straight and taut without compacting the soil excessively.
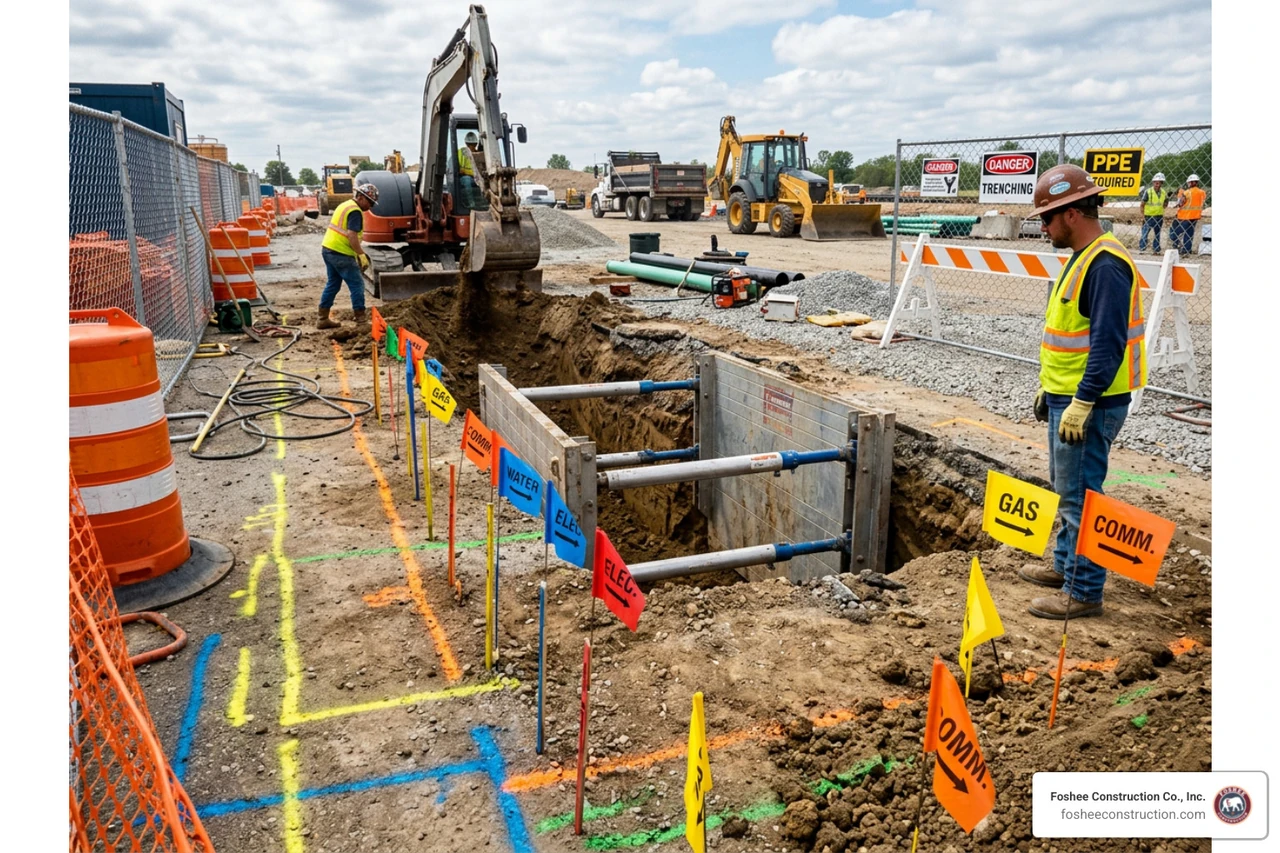
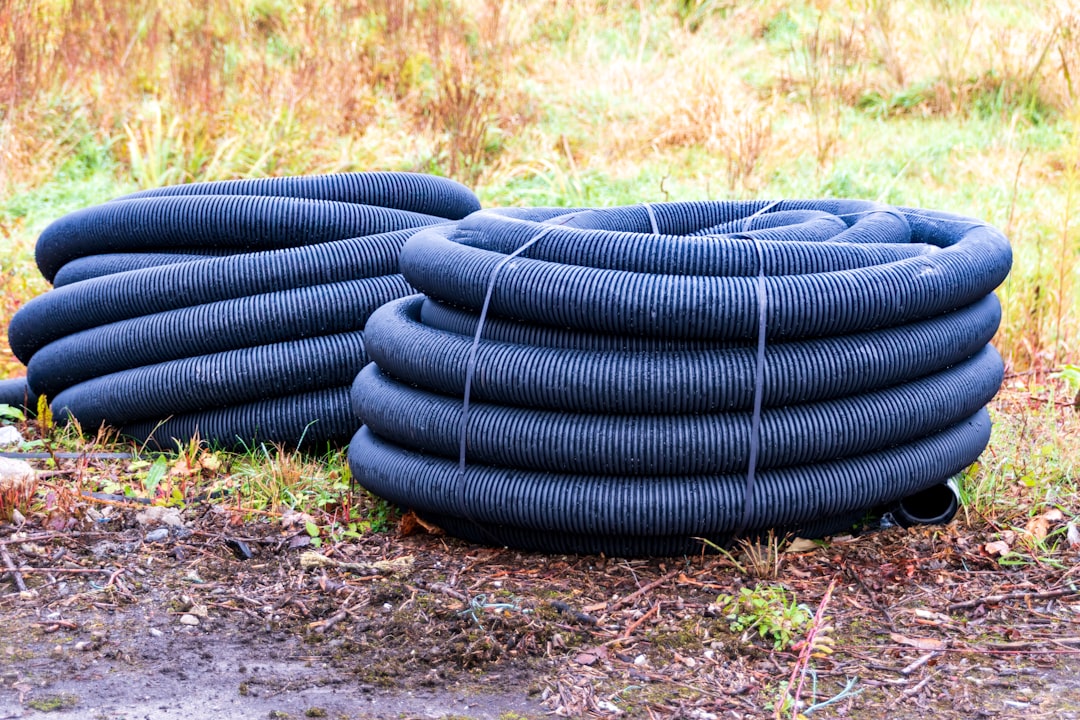
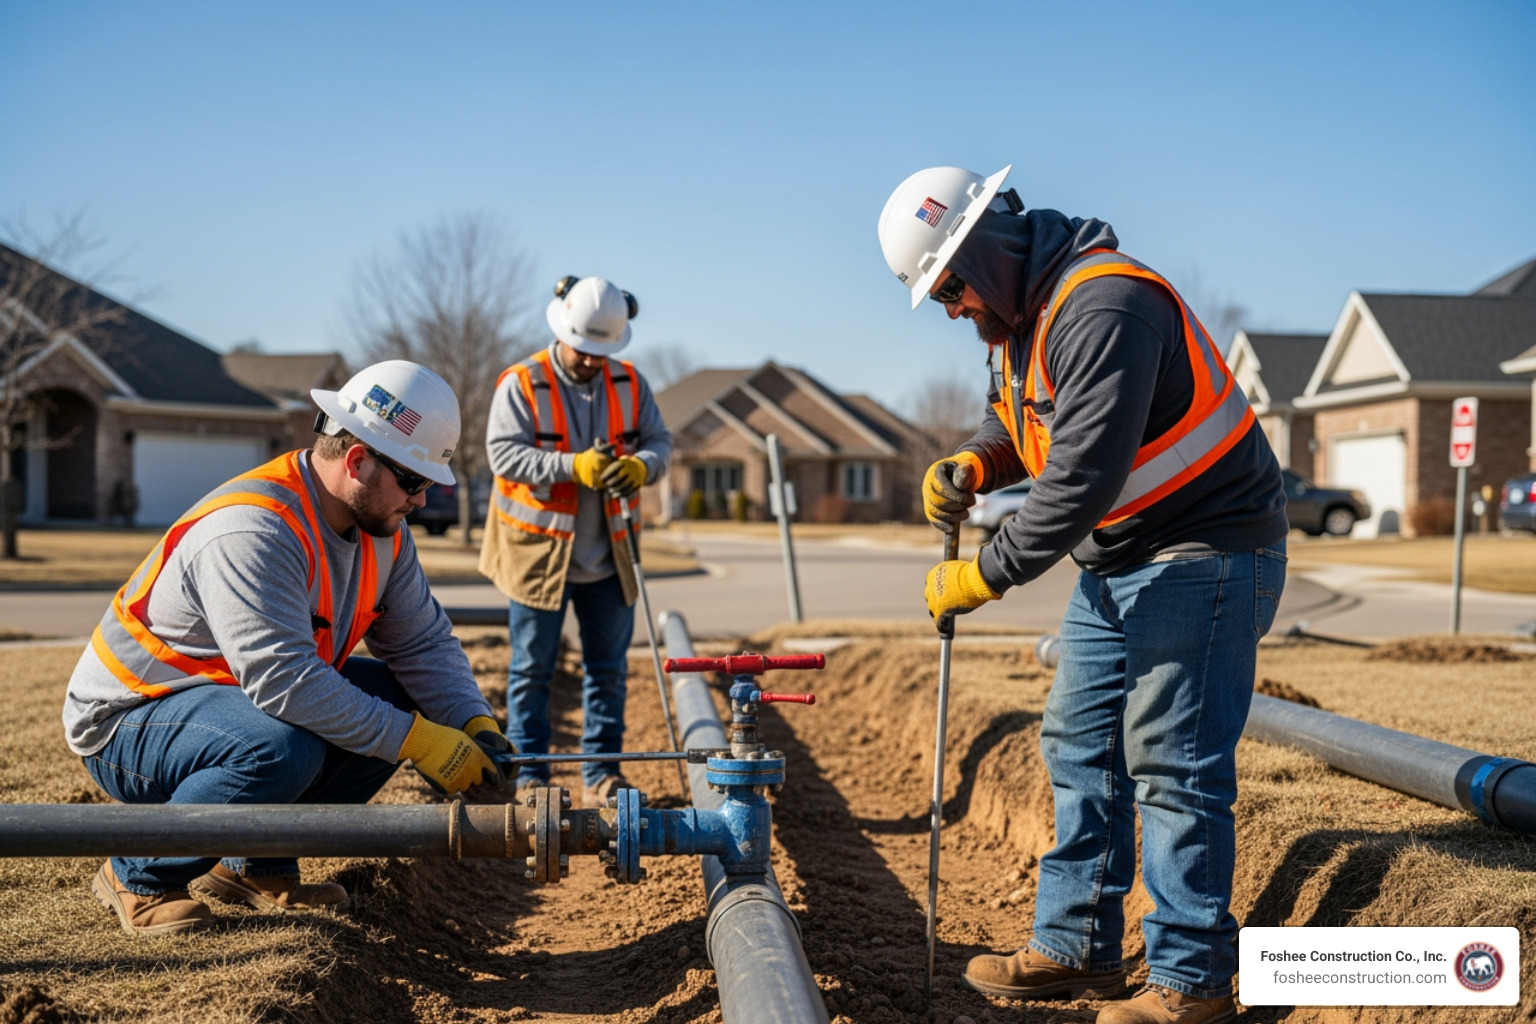
You will also need a massive supply of fasteners. For temporary blankets, we use U-shaped staples made of 11-gauge wire, at least 6 inches long. In looser Florida sands, we may upgrade to 8-inch or 12-inch staples to ensure they don't pull out. In areas that will be mowed, we often recommend wood wedge stakes or biodegradable "eco-stakes" to prevent metal fragments from damaging mower blades later on. Learn more about the broader scope of Erosion prevention construction sites to see how site prep fits into the bigger picture.
The "secret sauce" of a professional installation is how the blanket is anchored. If the top of the blanket isn't secure, gravity and rain will eventually pull the whole thing down the hill.

The gold standard for anchoring is the 6x6 inch trench. We dig this trench along the top of the slope, place the edge of the blanket into it, and secure it with staples spaced about 12 inches apart. We then backfill the trench with soil and compact it firmly. This "tucking in" method ensures that water running off the flat ground above the slope goes over the blanket rather than under it.
Another professional touch is the 45-degree stake angle. By driving staples into the ground at an angle pointing upslope, you create much higher resistance against the "pull" of the blanket. We also utilize a shingling effect: always place the uphill blanket over the downhill one, just like shingles on a roof. This prevents water from catching the edge of a seam. For more technical tips on maintaining these systems, check out Erosion Control Blanket Installation & Maintenance - Flexamat.
When we move to the face of the slope, the focus shifts to vertical unrolling. Never unroll a blanket horizontally across a hill; this creates seams that water can easily penetrate.
Key slope metrics include:
If you are dealing with particularly tricky terrain, you might find our guide on Erosion Control Matting Installation helpful for choosing between different mesh types.
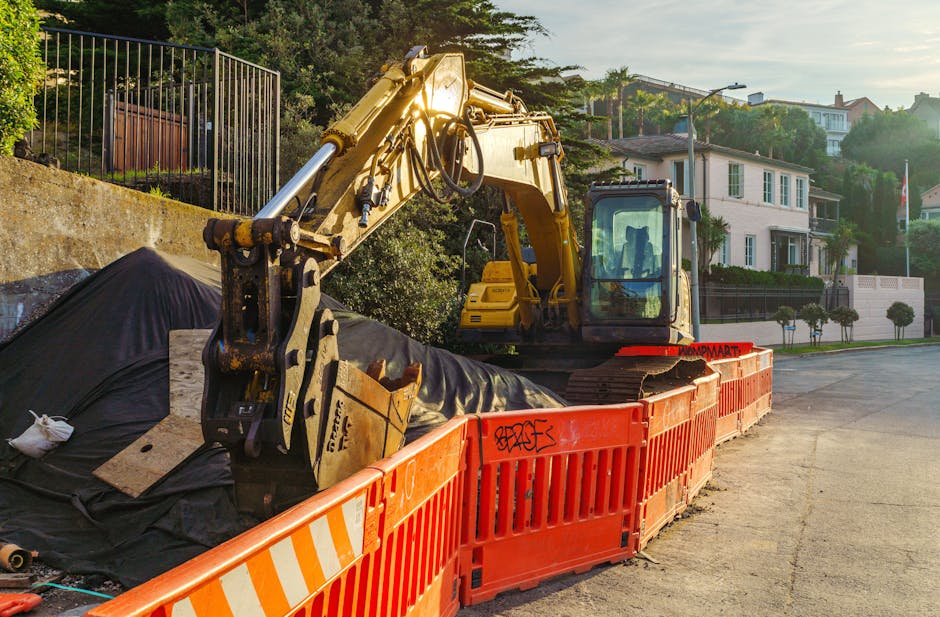
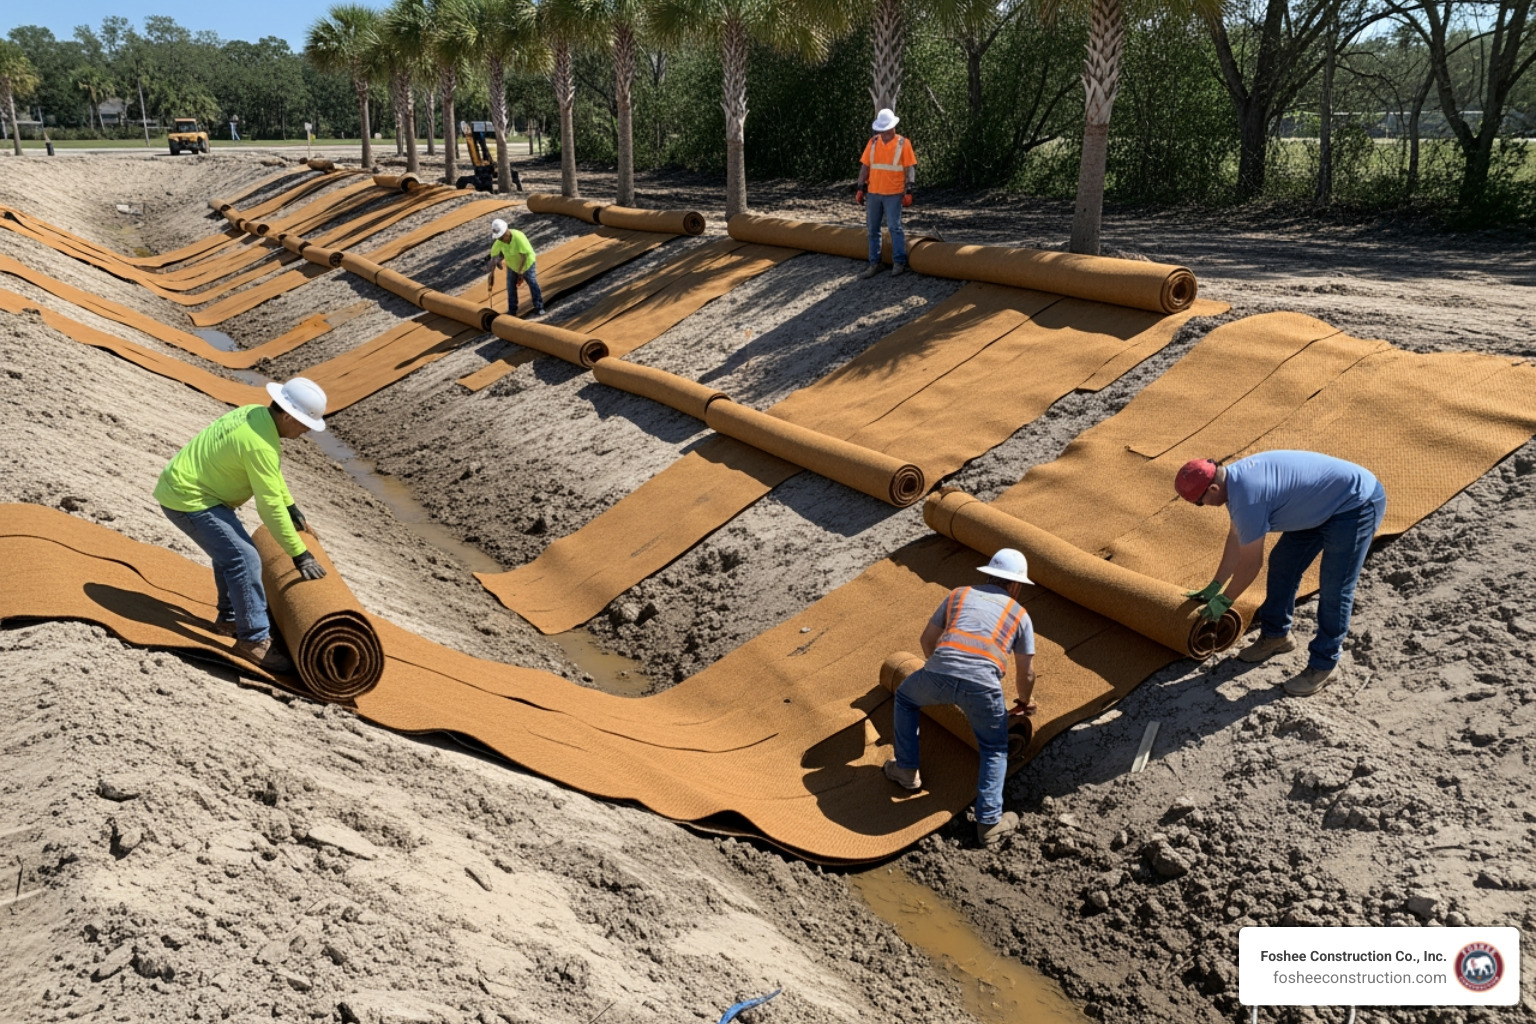
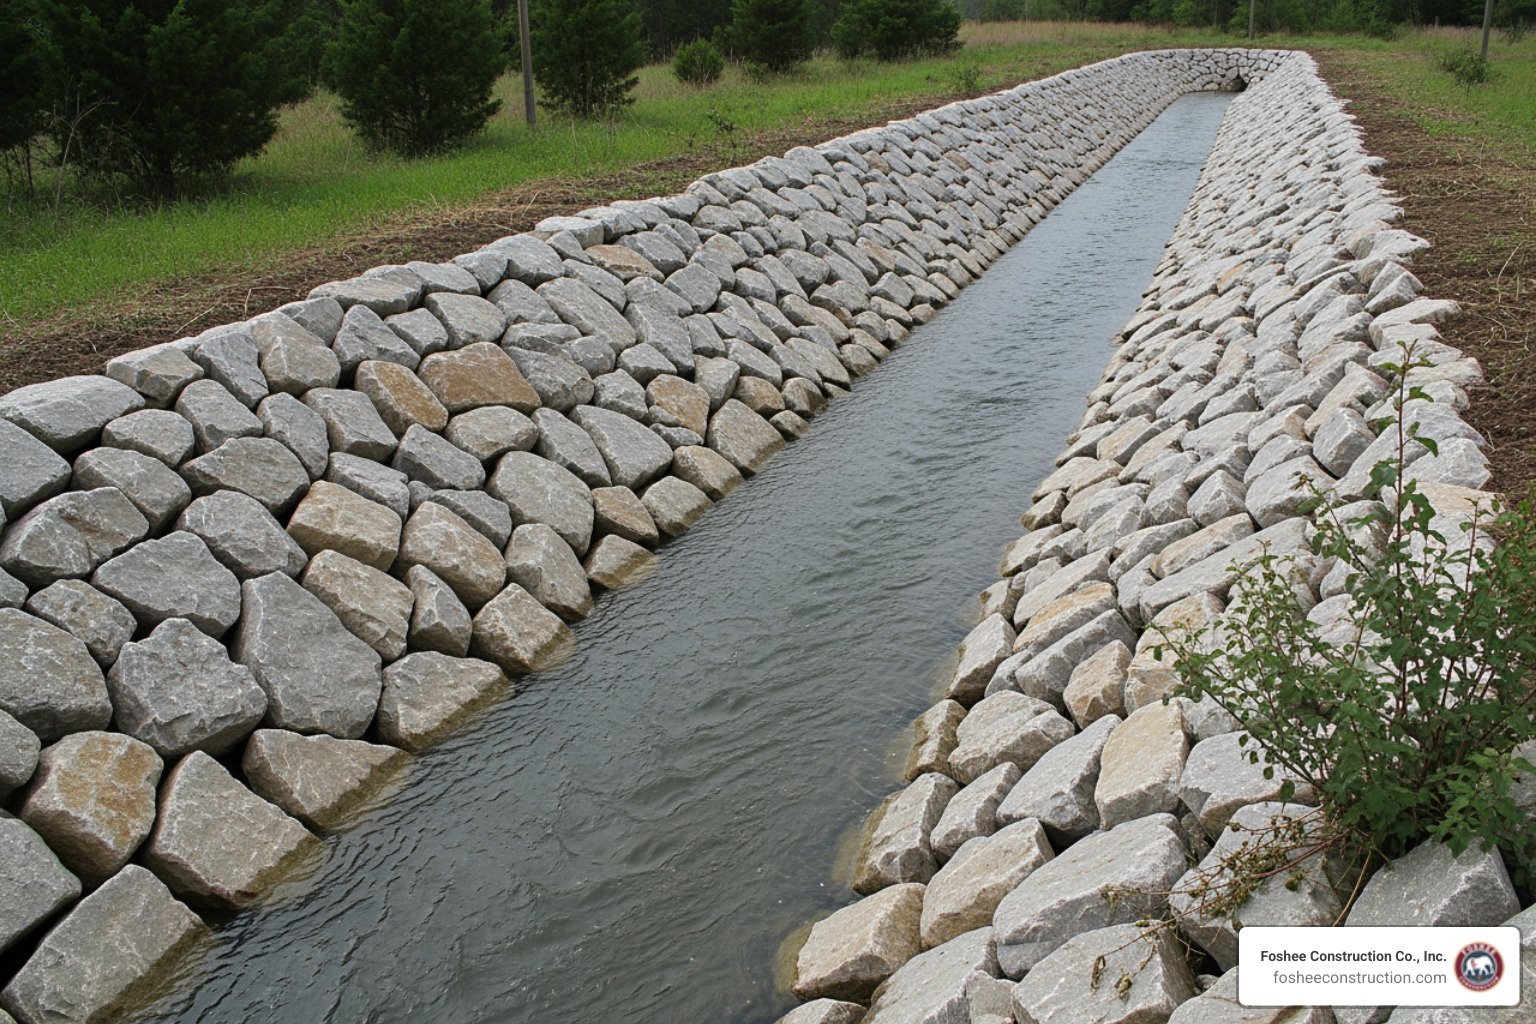
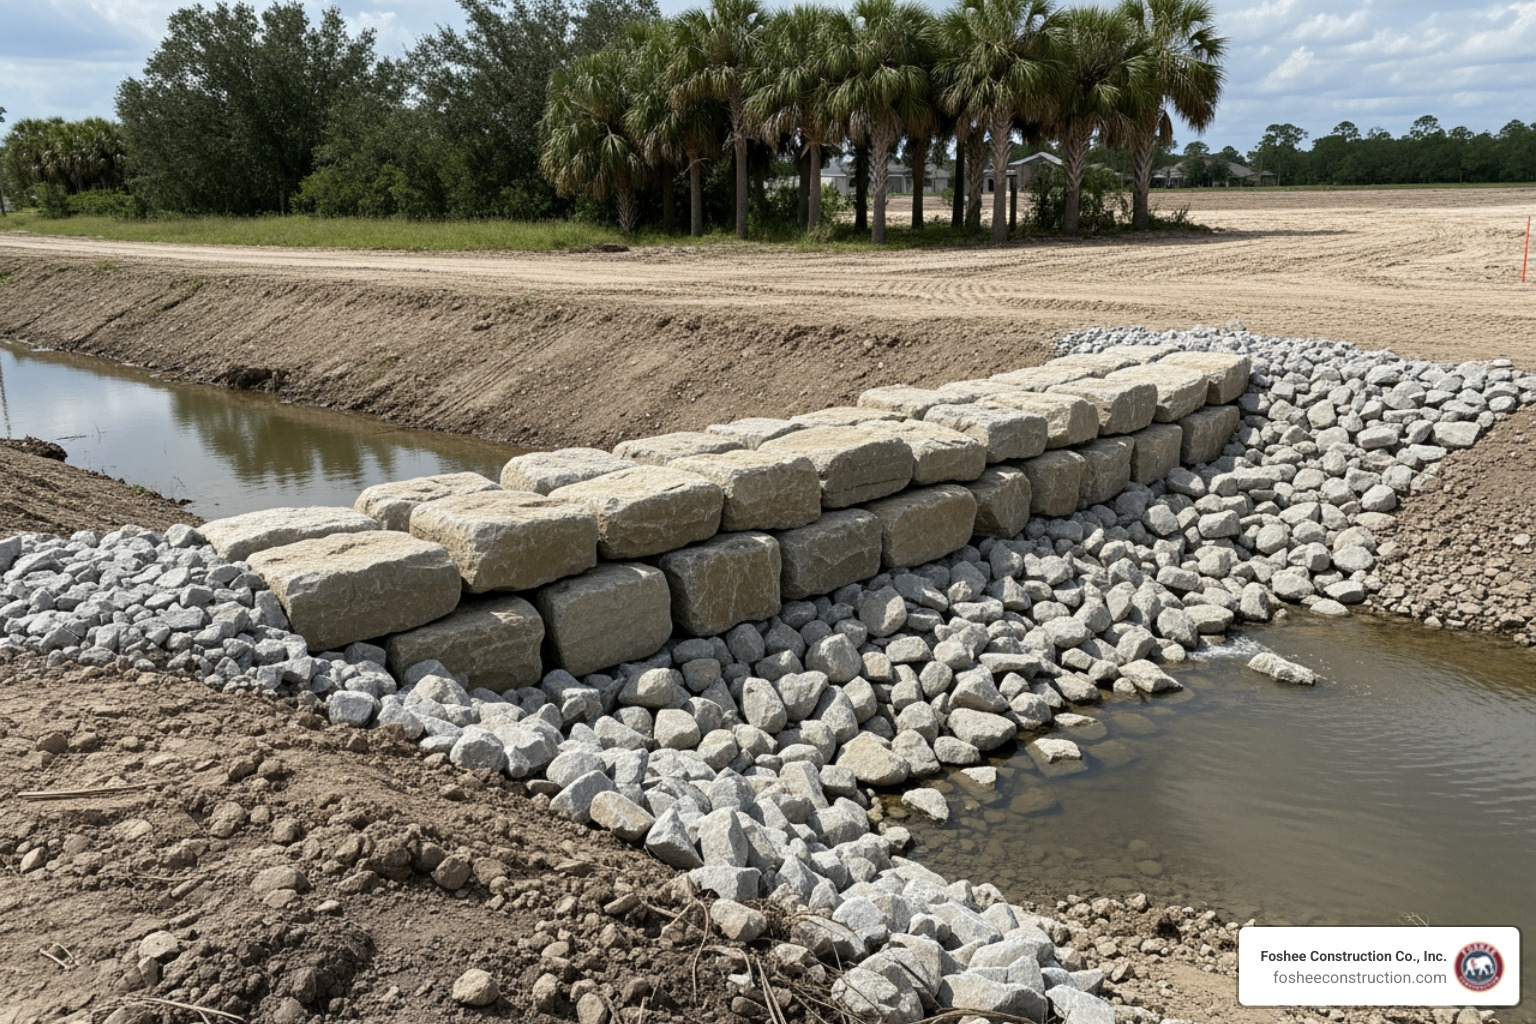
Channels, swales, and ditches are high-stress environments where water moves with significant force. Here, the erosion control blanket installation must be even more robust.
We start by unrolling the blanket parallel to the direction of flow. The first roll goes right down the center of the channel. Side rolls then overlap the center roll. To prevent "piping" (water carving a tunnel under the blanket), we install check slots every 50 feet. A check slot is a mini-trench where we fold the blanket, bury it 6 inches deep, and staple it securely.
In high-velocity channels, we anchor the bank tops in their own trenches and space our staples more frequently—often every 1.5 to 2 feet—to resist hydraulic uplift.
Installation isn't the end of the story. Especially in the Central Florida climate, where an afternoon thunderstorm can drop two inches of rain in an hour, monitoring is essential.

We recommend weekly inspections and a mandatory check within 24 hours after any rainfall of 0.5 inches or more. During these checks, we look for three main issues:
Common pitfalls to avoid include stretching the blanket during installation (which makes it thin and prone to tearing) and failing to ensure firm soil contact. If the blanket isn't touching the dirt, the seeds won't grow, and the soil will wash away. In some cases, combining blankets with other BMPs like Erosion control rock check dams can provide the extra protection needed for steep drainage ways.
The functional longevity of an ECB depends on its material. As of April 2026, ultra short-term blankets (straw) last about 3 months, while long-term coconut or synthetic mats can last up to 3 years. They are designed to stay in place just long enough for the roots of the grass to take over the job of soil stabilization.
It is not recommended. ECBs are designed for bare soil contact. For the blanket to work, it must be in direct contact with the seedbed to provide the necessary moisture retention and thermal protection. If you have existing patchy grass, it's best to mow it very low, rake the soil to expose the dirt, re-seed, and then install the blanket.
The most frequent error is improper trenching. Many DIYers or inexperienced crews simply staple the top edge to the surface. Without a 6-inch deep anchor trench, water eventually gets under the top edge, and the entire installation fails. Poor soil contact and insufficient staking (trying to save money on staples) are close seconds.
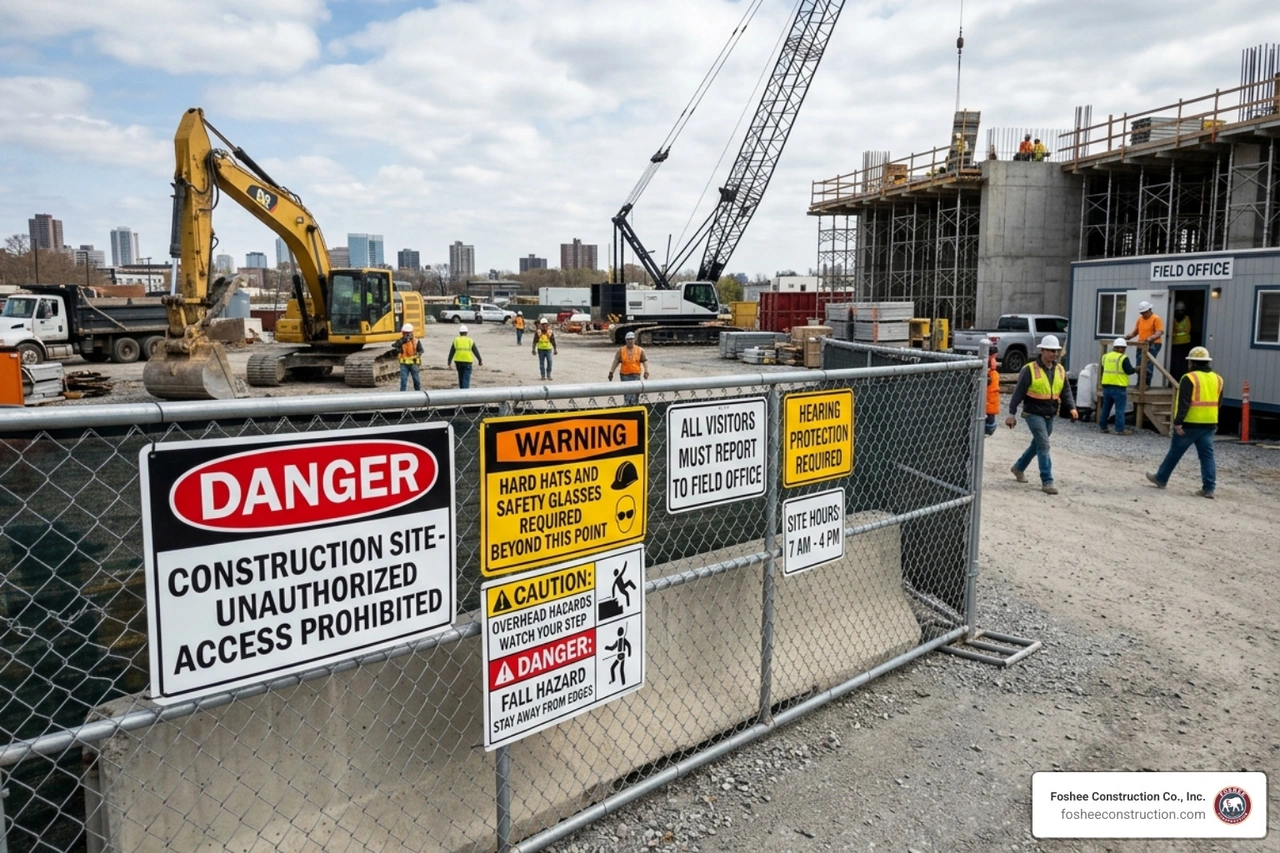
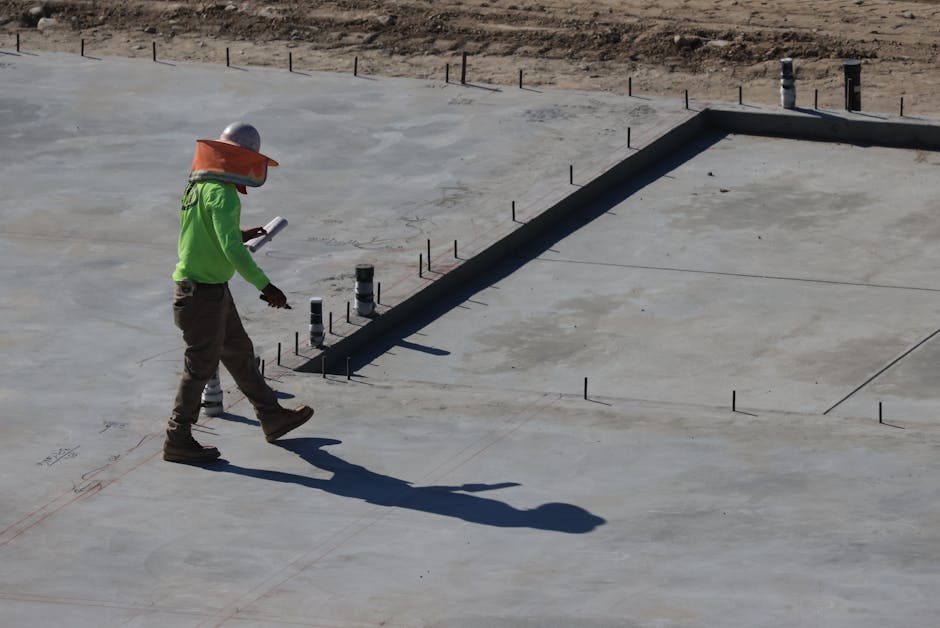
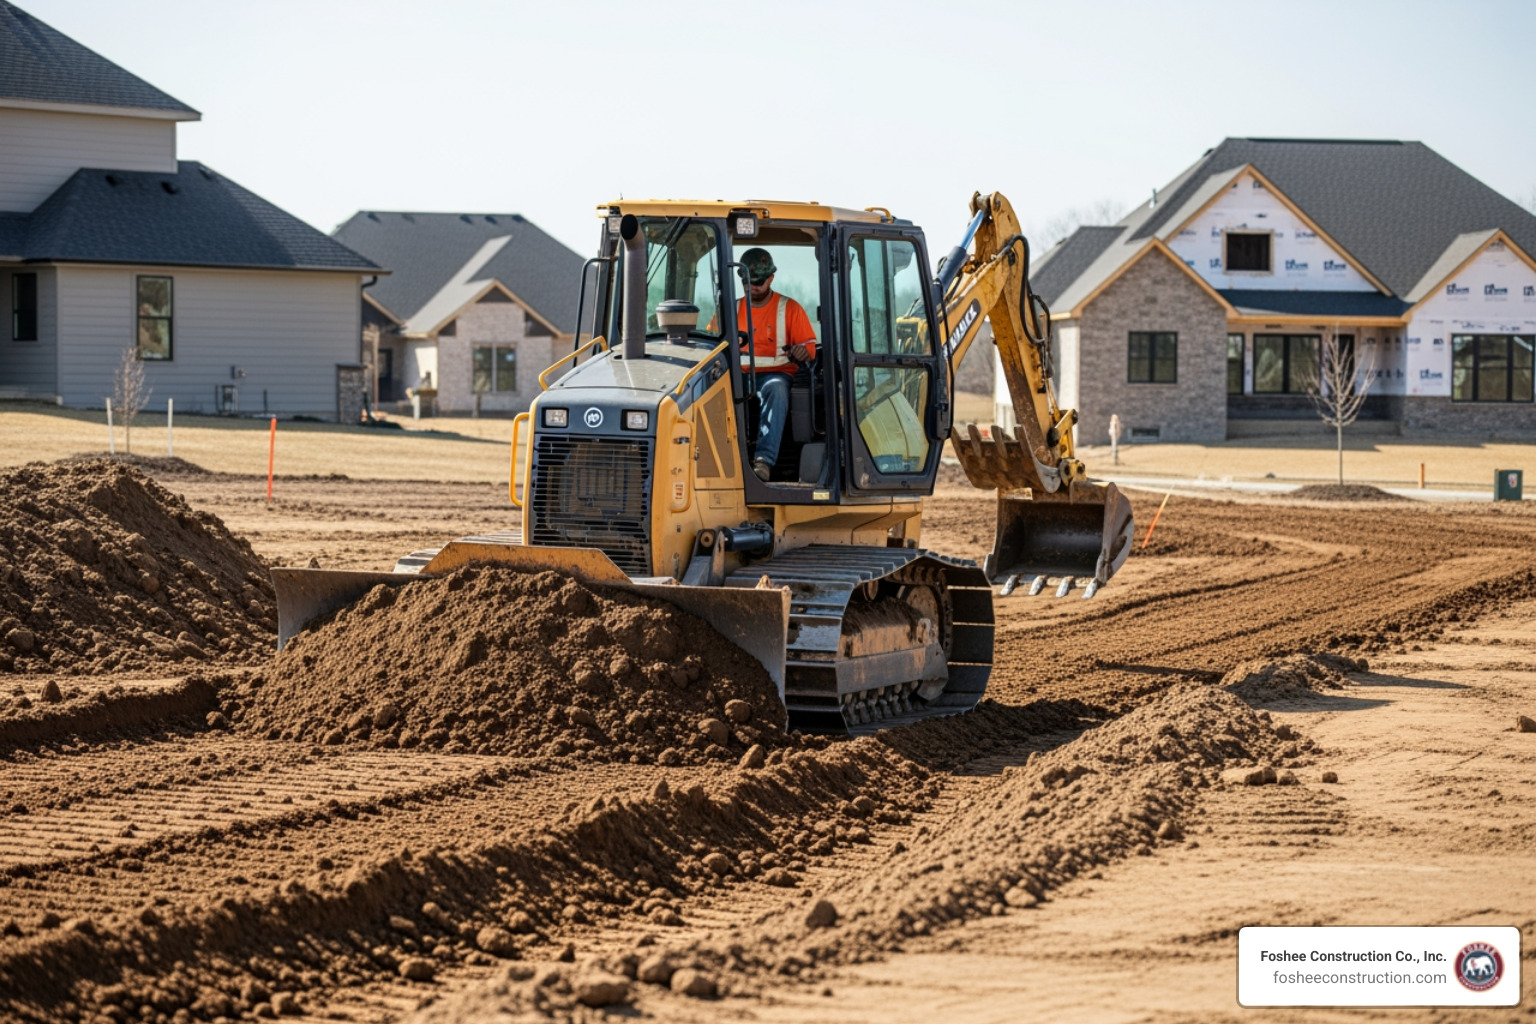
At Foshee Construction Co., Inc., we believe that site preparation is the foundation of every successful build. Whether we are working on a commercial development in Minneola or a residential project in Lake County, our focus remains on providing transparent bids, maintaining disciplined schedules, and ensuring the highest safety standards.
Proper erosion control blanket installation is more than just a regulatory requirement; it's an investment in the longevity of your project. By following these professional standards—trenching deeply, staking correctly, and inspecting regularly—you ensure that your soil stays exactly where it belongs.
If you’re looking for a partner who understands the unique challenges of Florida’s terrain and weather, reach out to us. From grading and underground utilities to complete site stabilization, we build the reliable contractor relationships that move projects forward. Visit us for Expert site preparation services and let's get your site "tucked in" the right way.
We build bids using HeavyBid and AGTEK because the details matter long before the job starts. When the numbers are accurate and the scope is clearly defined, it sets the tone for how the entire project runs. Estimating isn’t just a step in the process, it’s the foundation we build on.
That same mindset carries into the field. Our crew is trained to work with purpose, follow the Civil Engineers’ Plan to the finest detail, and hold the line on quality. When expectations are clear from day one, there’s no need for shortcuts, and no confusion about how the work gets done.
Clients trust our bid packages because they’re complete and ready to use. Project managers know what we’re covering, what’s excluded, and how we plan to approach the job. That clarity removes friction and lets teams focus on execution instead of interpretation.
As part of our review process, we go into the plans before anything hits the site. We ask the questions early, resolve issues before they show up in the field, and keep RFIs moving. This approach prevents delays and protects the timeline.
Over time, that consistency builds trust. Many of the people we work with today came through referrals from past projects – engineers, GCs, and superintendents who’ve seen how we operate and want the same experience again.
In 2024, Foshee Construction was acquired by Saga Infrastructure Solutions, a national network of civil construction companies. Saga supports regional contractors by giving them access to better tools, long-term resources, and operational backing, without changing how they run day to day.
Foshee will continue to operate under its name, with the same team and field leadership in place.
“From the very time a project starts, we start that partnership. We try to catch as much as we can with the tools that we have. Not everybody is using the software platforms we are. That’s the differentiator: we’re not just bidding. We’re anticipating, problem-solving, and making sure the job runs right.”
— Don, CEO, Saga Infrastructure Solutions
Foshee is now part of a broader regional strategy that includes Florida, the Piedmont Atlantic, Texas, Colorado, and the Arizona Sun Corridor. The name, crews, and standards remain. What’s improving is the support behind it.